BBC Sky at Night Magazine
Reveal the moon’s vibrant colours
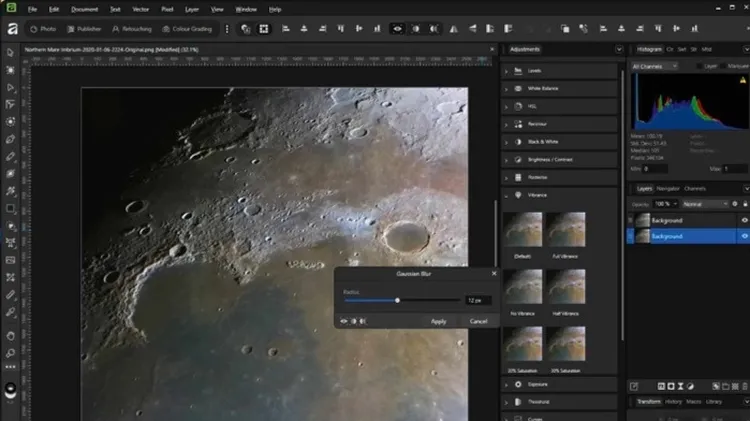
When you process your one-shot-colour (OSC) astro photos, do you fnd the colour often looks more muted than you want? Worry not. Whether your subject is the Moon, planets or deep-sky objects, there’s