Europe
Asia
Oceania
Americas
Africa
Practical tips and tutorials from pro artists to improve your CG skills
HO
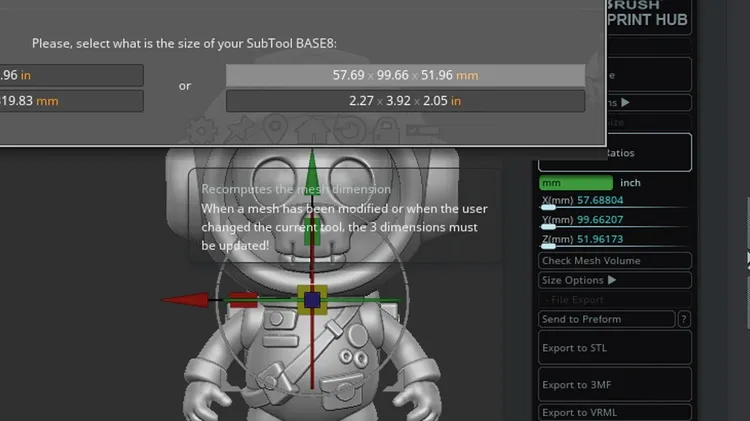
Oscar Juárez talks to us about his process for designing and creating characters to put through his 3D printer
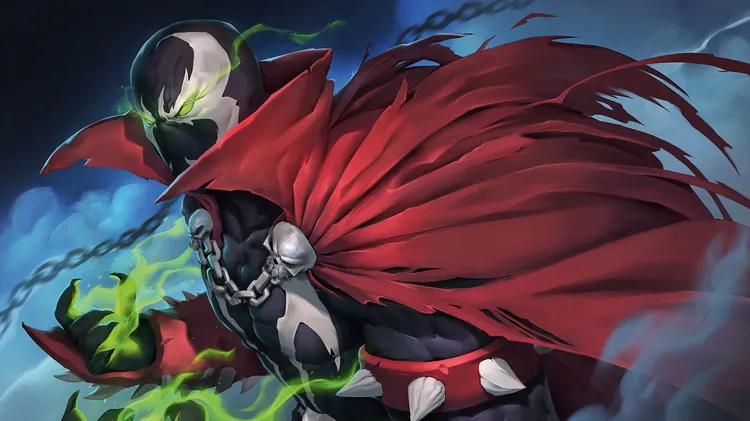
This artist likes to take a reference photo and run with it – changing elements here and there, and having fun in the process
Coach Brian is reminded how often success comes from working together and keeping things simple
Explore ideas to pay homage to your favourite characters while making sure your own unique style shines through
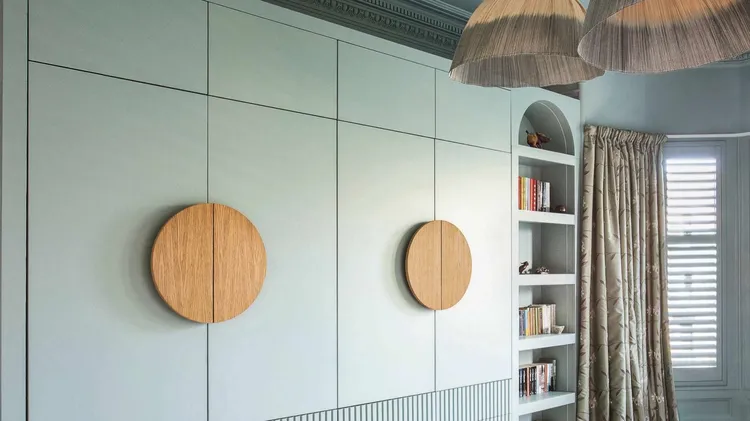
1. Measure the length and height of each of the drawers at the bottom of the wardrobe. Using these measurements, mark the dimensions with a pencil and ruler on the back of a sheet of reeded MDF. 2. Cu
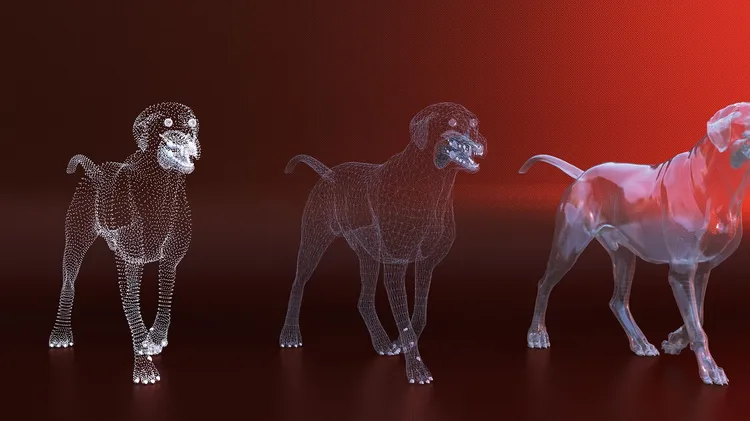
Nearly every 3D model shares the trait of being built from the same three components – Mike Griggs shows what they are and why they matter