Europe
Asia
Oceania
Americas
Africa
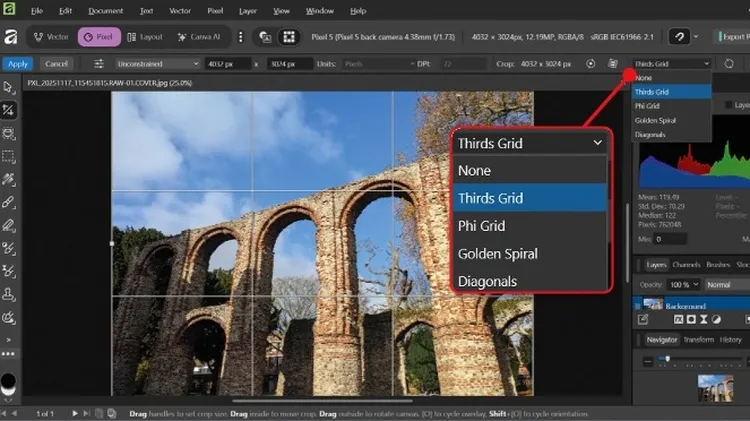
Take flight in style with a pro workflow fo
For the past decade we’ve been recommending Affinity Photo as an affordable, buy-once alternative to Adobe Photoshop, with companion apps Affinity Publisher and Affinity Designer making persuasive riv
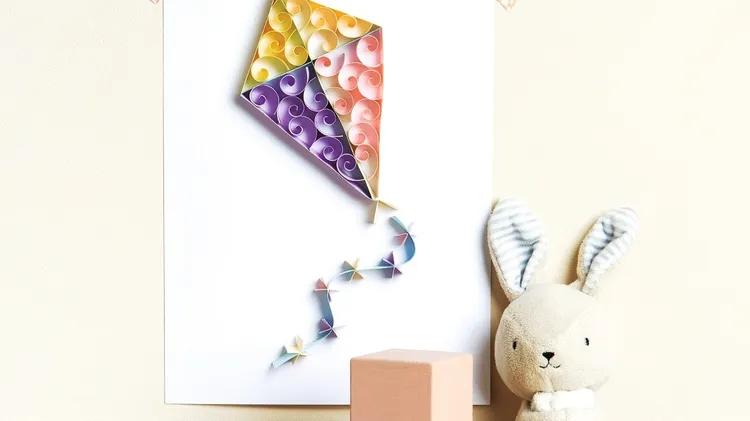
EASY You Will Need • Quilling papers: 10 mmstrips in Pink (3), Lightpurple (7), Sky blue (9),Light green (22), Lightyellow (38) and Apricot(52) (our selectionavailable fromtillyviktor.com) • Your choi
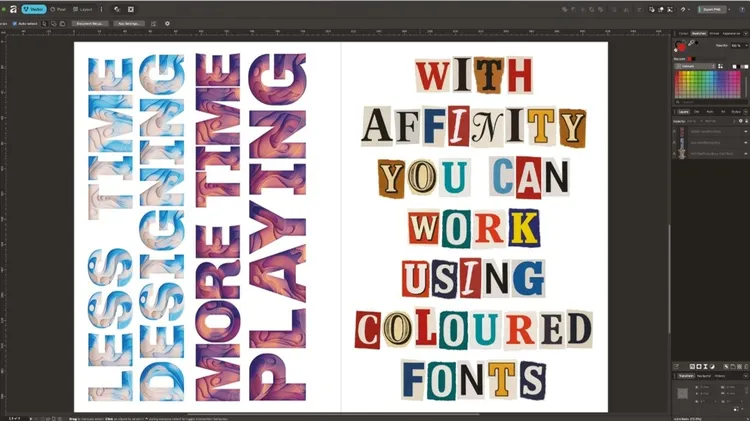
Something exciting happened at the end of October. Canva, best known for its online design and photo-editing tools, launched a single Affinity software suite, combining the image-editing, vector-graph
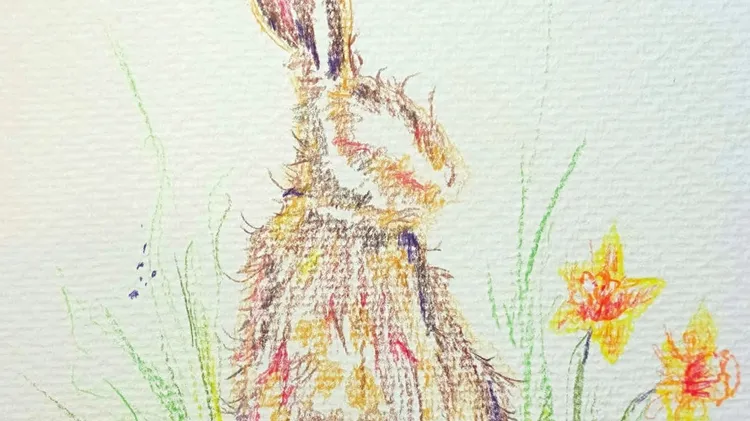
AS A HUGE FAN ALREADY OF THE STAEDTLER TRIPLUS FINELINERS, I could not wait to try out my new Artist Series Mars Lumograph Colour Aquarell pencils and the Multi Ink pigment pens with the blending liqu
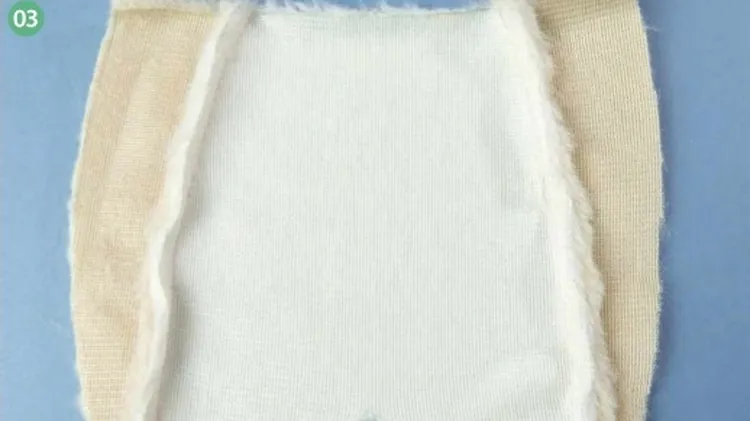
■ Beige faux fur fabric: 48x39cm ■ Ivory faux fur fabric: 38x30cm ■ Brown faux fur fabric: 15x21cm ■ Ivory smooth plush fabric: 15x21cm ■ Orange smooth plush fabric: 28x20cm ■ Green wool felt fabric:
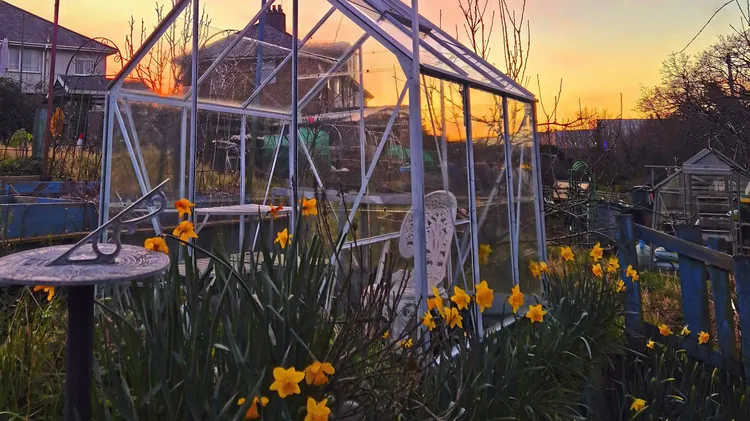
Olga Grieves is working hard to sweeten the soil and make it more fertile – and some early signs of success are already showing