Europe
Asia
Oceania
Americas
Africa
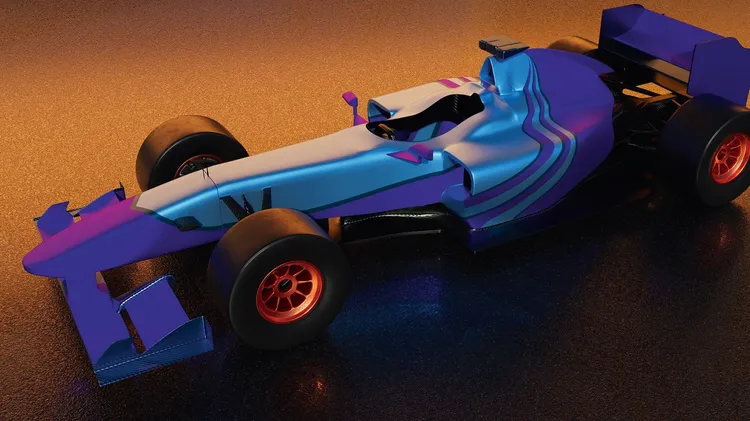
SOFT WARE: BLENDER
Frank Roberts, Seattle
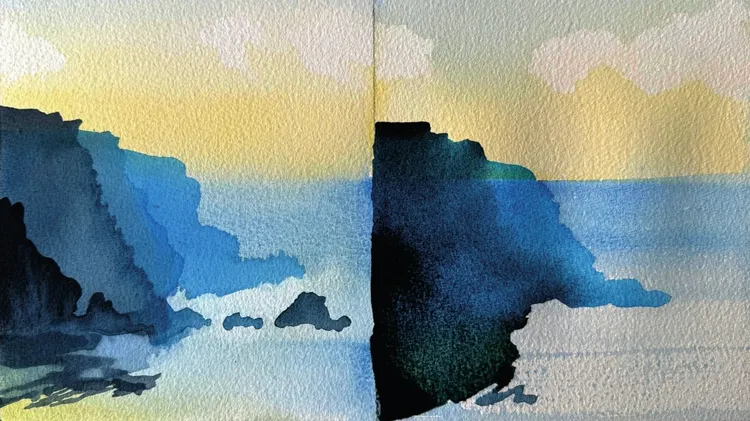
Awash is a fundamental watercolour technique and so it makes sense to start these twelve articles by delving into their beauty with a look at how they are created and interact with one another to buil
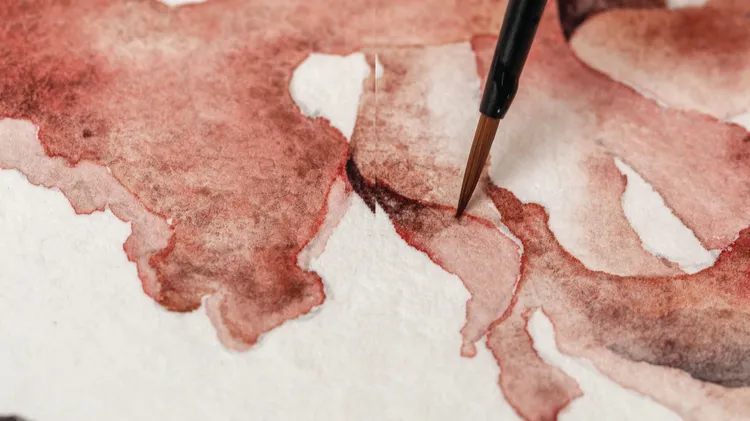
Learn to capture the beauty of marine life in watercolours with artist Julie Collins
OUR 3D EXPERTS ARE HERE TO SHARE THEIR KNOWLEDGE…
Discover new ways of colour toning your images in Photoshop, with Wendy Evans
Workshop ADVICE FROM THE WORLD’S BEST 3D ARTISTS