Europe
Asia
Oceania
Americas
Africa
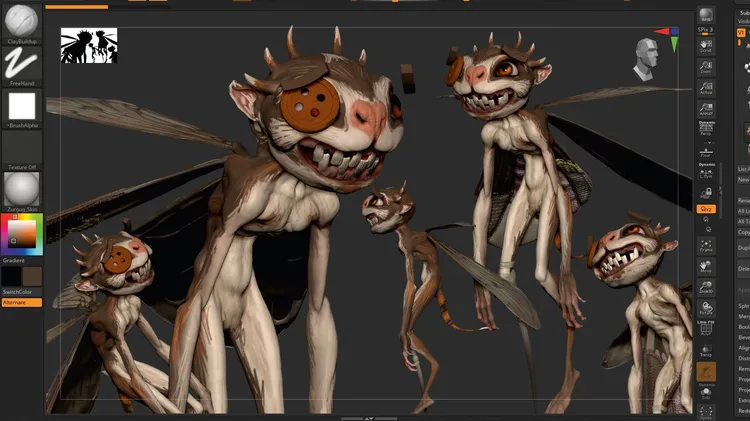
Model stylised toon characters using a simplified workflow
Traditional skills, Photoshop, ZBrush & Blender
OUR 3D EXPERTS ARE HERE TO SHARE THEIR KNOWLEDGE…
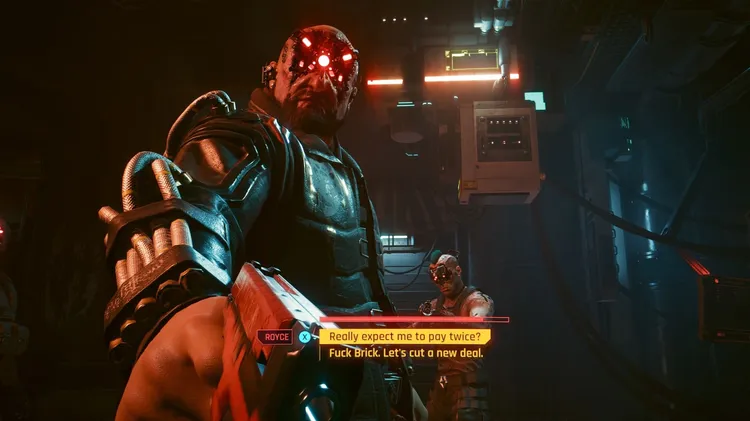
PERSONAL ADVENTURES IN GAMES
Projecting our consciousness into other bodies and walking on alien worlds might not be such a far-flung concept
Amazing answers to your curious questions
PHYSICAL STORAGE Store small USB sticks in craft boxes I’ve just started transferring MP3 files to small USB sticks to use in the appropriate socket in my Bluetooth speaker. But storage as usual with