Denoise high iso shots in lightroom

4 min read

Technique NOISE REDUCTION

The fairly recent Denoi
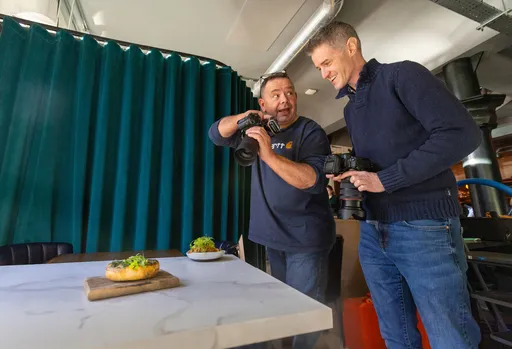
se feature in Lightroom provides incredible results, but how does it stack up against the noise-stacking technique in Photoshop? James Abbott puts the two approaches head-to-head to find out

BEFORE
AFTER

High ISO noise has been a problem going back to the days of film. Although contemporary digital cameras outperform their film counterparts in this area, noise remains an issue when pushing settings above the ISO 1600 mark with most digital cameras; the exception is the best professional cameras available that perform well at higher settings.

To be fair, even entry-level cameras are excellent performers these days, but even so, there will inevitably be times when you need to crank up the ISO to be able to expose correctly when shooting handheld in low light or to freeze subject movement in certain situations. One thing to always remember is that it’s better to have a noisy photo that captures what you intended than no photo at all.

Third-party noise-reduction software options have long been the best way to reduce high ISO noise, alongside a technique called noise stacking which works well for static subjects because it involves shooting several images at a high frame rate. But with Lightroom now providing a powerful Denoise feature that maintains colour and detail when smoothing noise, is this the only noise-reduction feature you need?

Rather than providing a comparison of all the noise-reduction software available, we’re going to focus on Denoise in Lightroom and the noise-stacking technique in Photoshop. If you already subscribe to the Adobe Photography Plan, they’re options that you already have at your disposal.

Top tip

Noise stacking is simple, you just shoot normally but raise the ISO level to the necessary amount and shoot at a high frame rate to take 3-5 images in quick succession to reduce camera movement. If your camera or lens has Image Stabilisation it’s worth switching this on, and this can help to reduce the ISO level if you have a steady hand; at high ISO settings, a stop or two can make a huge difference to noise levels.

HOW TO USE DENOISE IN LIGHTROOM


1Open Enhance dialogue

Process your image as normal but don’t worry about Noise Reduction because this will be overwritten by Denoise. Scroll down to the Detail tab and click on the Denoise button to open the Enhance dialogue. The default Amount of 50, or the last Amount you applied, will be set. Left mouse click on the image window to see the original image.

2 Adjust the Amount

Increase or decrease the Amount slider to see what looks best. The aim here is to reduce the amount of noise present while not making the image appear waxy. It’s a fine balance, but once you’re happy click on the Enhance button and a new DNG file w

This article is from...

Related Articles

Related Articles