Europe
Asia
Oceania
Americas
Africa
The endangered mountain hare is a popular subject for artists, a creature steeped
Spotlight on readers’ excellent images and how they captured them
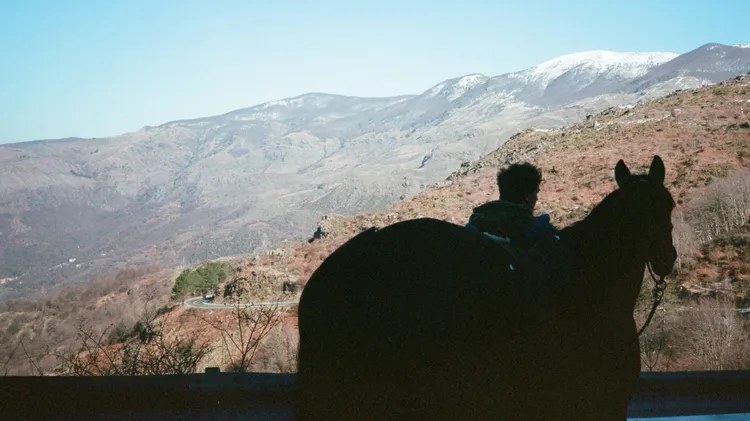
From the Apennine Mountains to ‘the end of the land’ at Cape Finisterre, Louis D Hall and his horse Sasha trekked untrodden partisan paths across four mountain ranges. Guided by strangers and nature’s clues, it was fulfilment of a childhood dream inspired by Don Quixote . Here, the author shares two extracts that give a glimpse into this wilder way of life
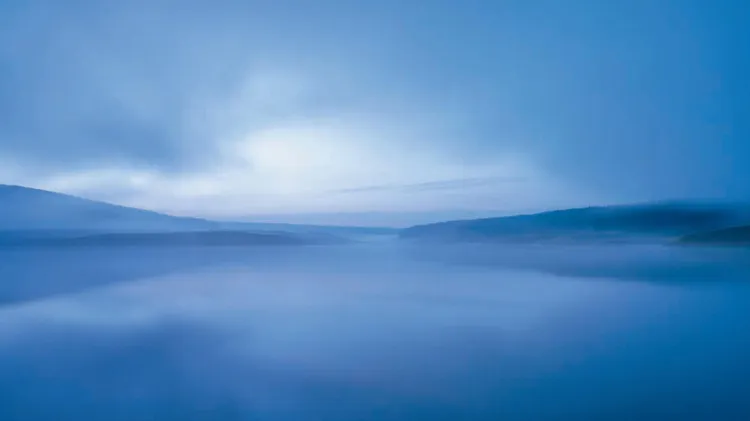
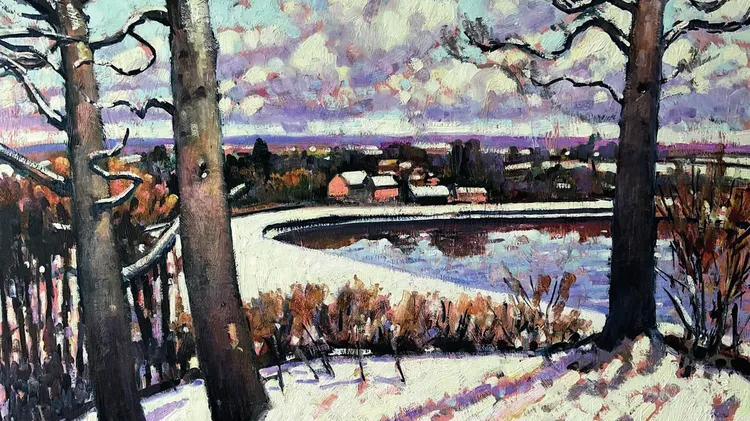
BEHIND THE PICTURE
THIS VIEW – ACROSS BITELL LAKE IN WORCESTERSHIRE – had obvious painting potential, and though I had walked here before, the snow and the light gave me an immediate feeling of drama and structure. It’s
14 JANUARY
Our showcase of category winners from the Wildlife Photographer of the Year Awards 2025