Europe
Asia
Oceania
Americas
Africa
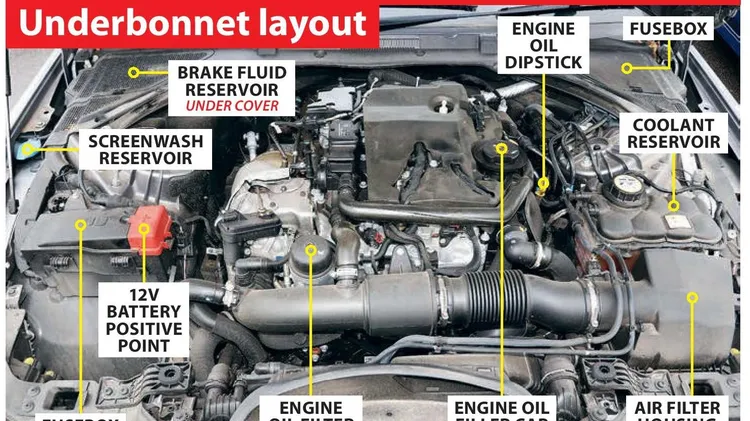
Tracing and fixing faults in electronic engine management systems
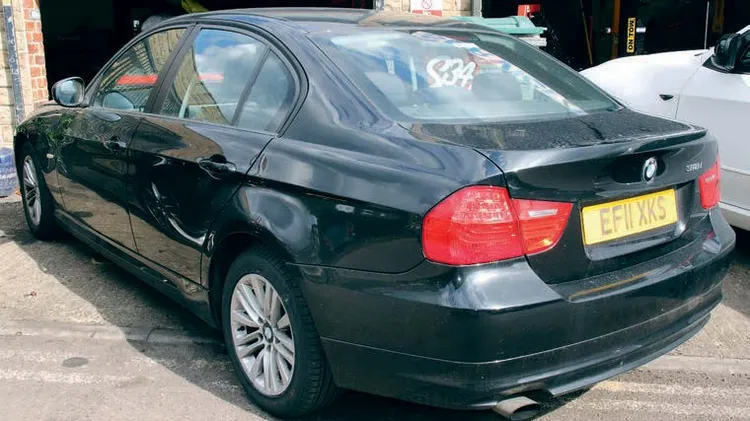
BMW 3-SERIES 2.0 PETROL
Jaguar World's technical advice service
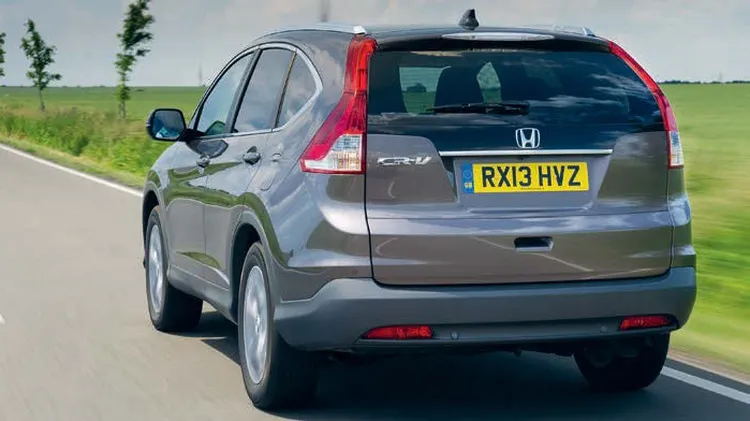
Q I recently bought a 2014 Honda ...
2019 JAGUAR XE 2.0 Petrol
Joe’s BMW is now cataract-free – but is ...
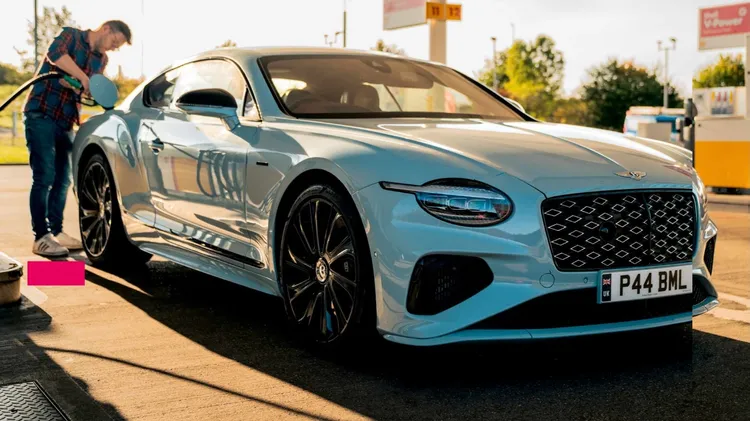
£254,200 OTR/£282,000 as tested/£5,077 pcm WHY IT’S HERE: What has a hybrid makeover – and Mulliner buffing – added to the world’s best grand tourer? DRIVER: Ollie Kew IT’S 5AM, AND YOU JOIN ME AT hom