Europe
Asia
Oceania
Americas
Africa
#35
Adding motion to a characterful synth pad can compl
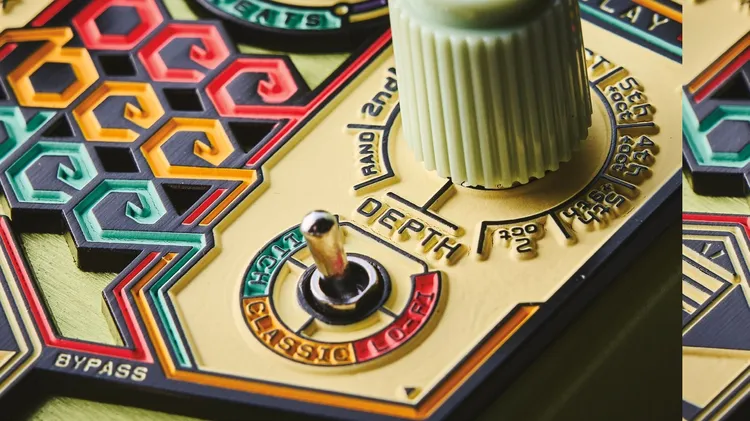
The first delay pedal from Beetronics offers analogue sound with digital control for some time-warped creativity
What pedals are you using these days? It’s really just my pedals strung together on the floor, but you’ll get the idea of what my show board is like. The show board is packed away with all the touring
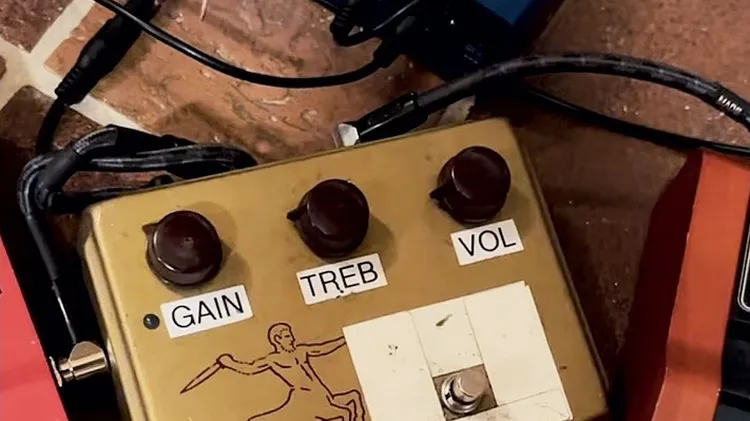
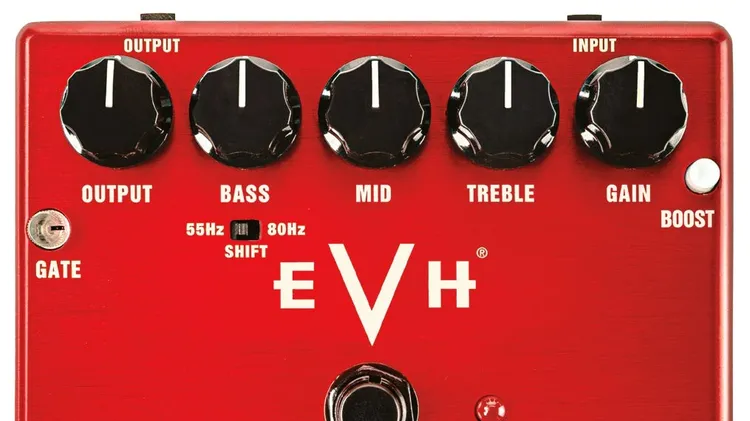
Our pick of the month’s most delectable and wallet-bothering new gear
IN THE MID-EIGHTIES, ZZ Top went from being a group of Texas-bred blues bangers to a chart-topping powerhouse on the strength of albums like 1983’s Eliminator and 1985’s Afterburner. But neither of th
Master creative use of long exposure to capture the dynamics of nature, says Karolina Konsur
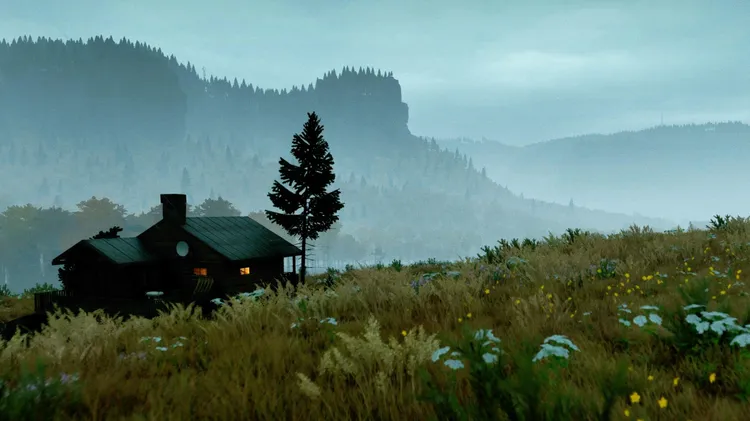
PLAYERUNKNOWN is back to modding, but now it’s his own game