Quick landscape editing effects

2 min read

GET THE LOOK

Editing any image doesn’t have to be a
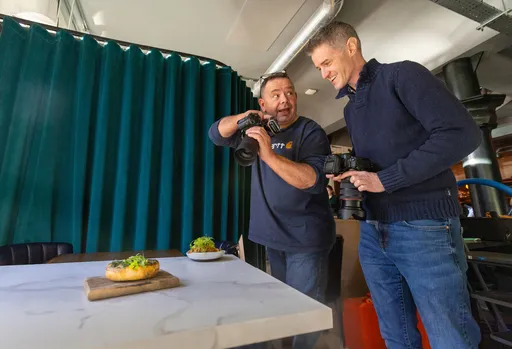
 laborious process, with Photoshop providing some quick and effective tools for applying creative adjustments

If you’re anything like me, you’ll enjoy the shooting process much more than editing, while also relishing I the sense of achievement when an image you’re proud of has been fully processed. While some photographers spend hours working on a single image, this is rarely necessary and as little as five to 10 minutes can be plenty of time to take a landscape image from a raw file to fully processed and ready to print or share online.

Admittedly, every image is different, so the time required to process each one varies. But with speed and efficiency in mind, we’re going to cover four techniques that are designed to be quick and easy to apply while also adding creative effects that appear to have required much more time spent on creating them. For speed, two of these use Photoshop’s AI-powered selection features.

They aren’t always perfect, but when they work well, they’re incredibly useful.

1 Warm the sky

Select the sky by going to Select > Sky. In most instances, this selects the sky only, leaving out the clouds to produce a more natural result. Once the selection has been loaded, click on the Create new fill or adjustment layer icon at the bottom of the Layers panel and select Photo Filter. Leave the Filter at the default of Warming Filter (85) but increase the Density to 40 per cent before closing the dialog. For a stronger or weaker effect, simply increase or decrease the filter density.

2 Make the foreground gritty

Go to Select > Focus Area to select the ground. This tool looks at the depth in

This article is from...

Related Articles

Related Articles