Europe
Asia
Oceania
Americas
Africa
Capture your creative vision by taking back control of exposure, fo
Give your shots a new look with our Actions, presets, profiles and LUTs
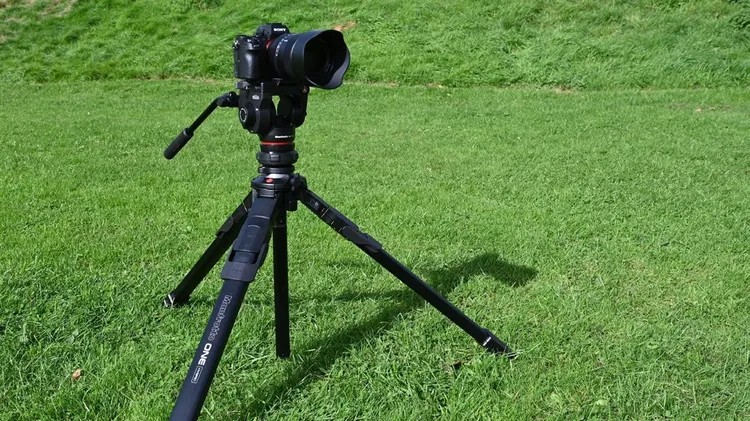
Agonising over astrophotography shots? Traumatised by your next tripod choice? Send your technique and camera questions to digitalcamera@futurenet.com
Discover new ways of colour toning your images in Photoshop, with Wendy Evans
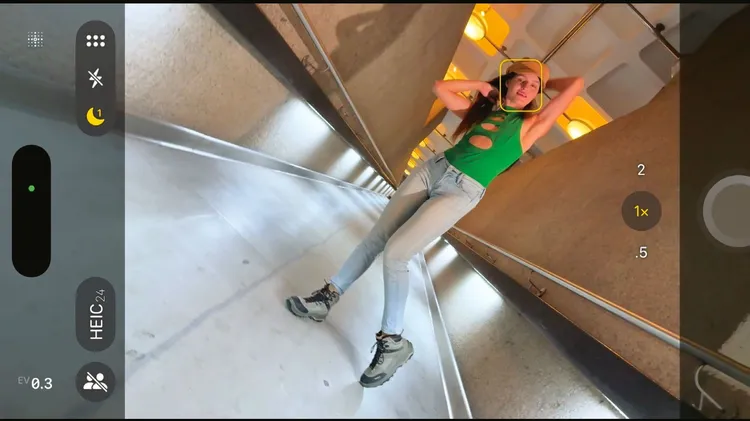
Discover what’s new and what’s changed in latest iOS 26 version
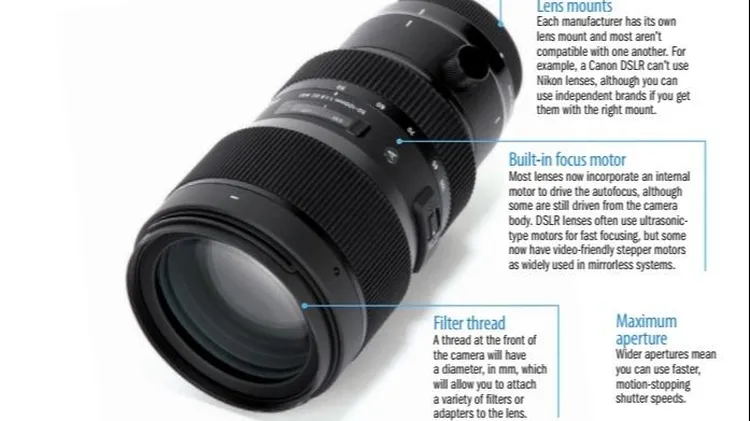
Our comprehensive listing of key specifications for DSLR lenses
Like many artists, I often develop designs for paintings from photographic reference, despite its still being thought of by many as cheating. They argue that it is only by working directly from the su