Europe
Asia
Oceania
Americas
Africa
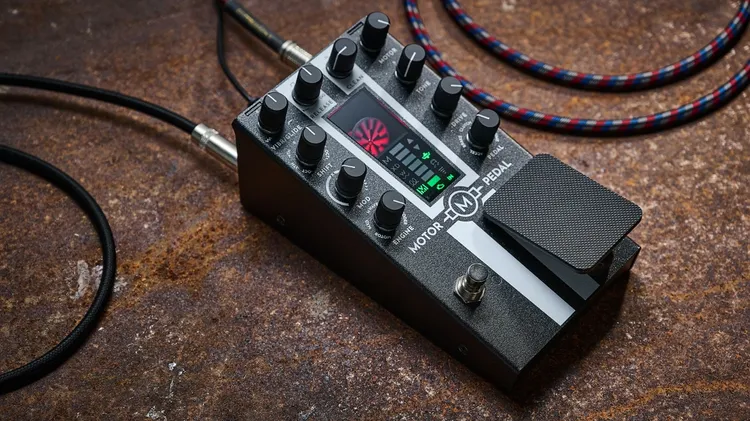
> There’s usually a bit more to a modulation plugi
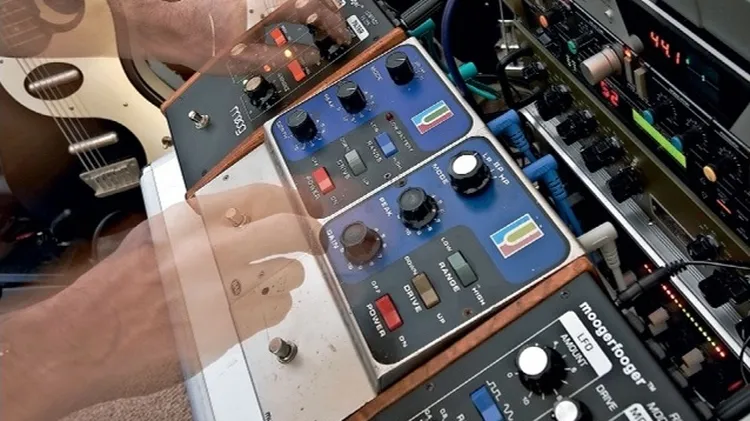
WHERE DEMAND FOR pedal effects grew exponentially during the early Seventies as musicians sought new sounds, many stomp box designers turned to the synthesizer for new inspiration. Mike Beigel was amo
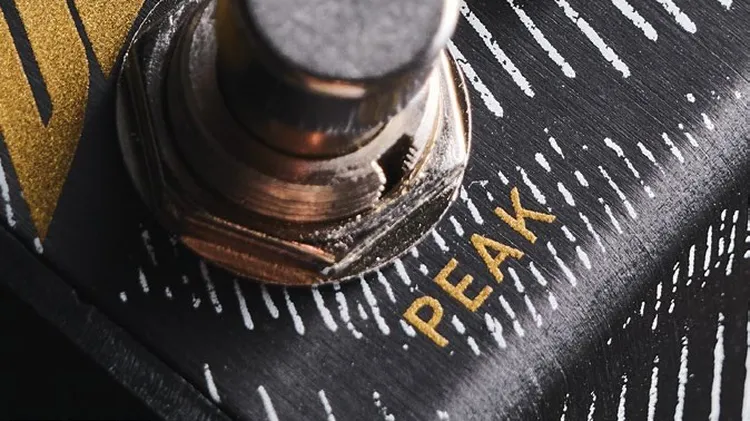
Manson Guitar Works’ first stompbox delivers a high degree of variation in your fuzz tone
IT’S SAFE TO suggest that Game-changer Audio isn’t afraid of being a little different. Its innovative products, like the Plasma and Light pedals, generally feature an aesthetic that stylistically disp
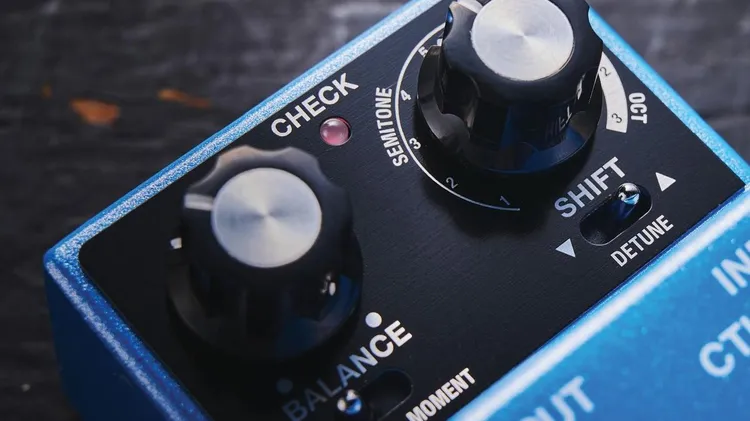
These new Boss pitch-shifting pedals have been a long time in the making, and now they’re here and ready to go toe-to-toe with DigiTech
Your letters to the Guitarist editor. Drop us a line at guitarist@futurenet.com
Master the art of modern photography