Europe
Asia
Oceania
Americas
Africa
Got a burning question about your self-build, extension or renovation project
Want to make sure the interior of your extension works as efficiently as possible? Consider these factors when designing your scheme and layout
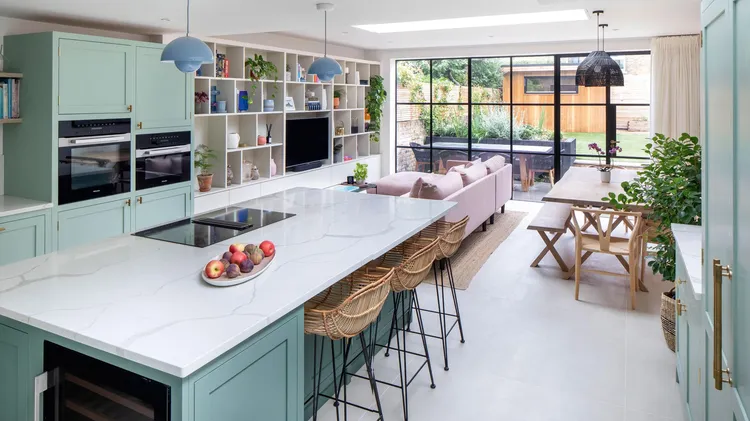
Planning and designing a kitchen that functions beautifully for all daily routines, as well as being a joy to spend time in, is a matter of considering how the room will be used by the whole family. ‘
Know you want to add more space? Here’s what to consider to get your project off the ground
There are plenty of projects that can be done to keep your home looking fresh. The key is to work out which tasks you are capable of as a DIYer, and which require specific skills and safety measures.
‘A bathroom should feel like a sanctuary, so begin by understanding its purpose: is it a private retreat, a family hub or a welcoming guest space?’ advises Lizzi Catchpole, head of design at Catchpole
Having a workout space at home can be one of the most rewarding upgrades you make, helping to save you time, boosting motivation and cutting down on monthly memberships. A garage or large shed are usu