Europe
Asia
Oceania
Americas
Africa
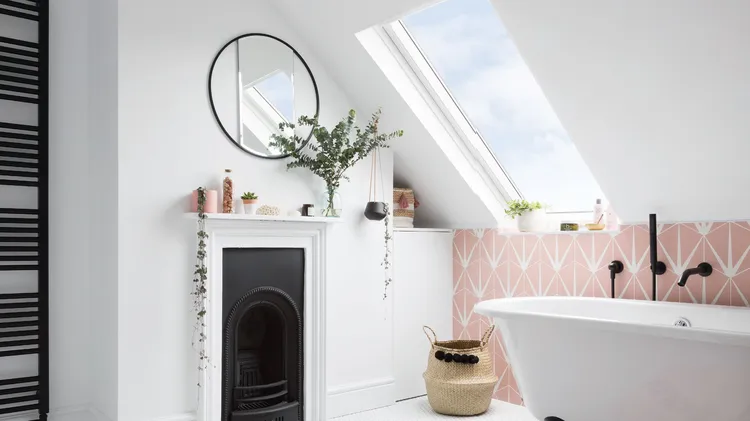
BATHROOM PROJECT
NATURAL TONES AND TEXTURES AND LUXE TOUCHES MAKE THIS P
SIMON AND CLEMMIE TRANSFORMED A TRICKY SPACE INTO A FUN, FUNCTIONAL BATHROOM FOR THEIR FOUR DAUGHTERS
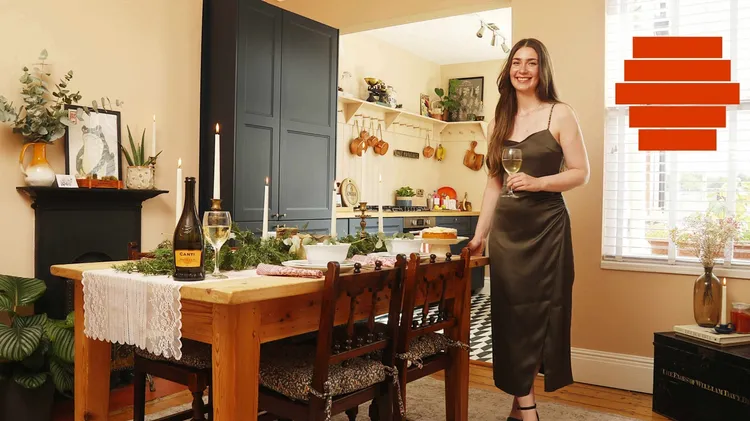
After searching for a year in a heated property market, first-time buyers Lacey Richards and Aaron Coe finally got lucky with an unloved ex-rental house. As the owners were moving to Australia and wan
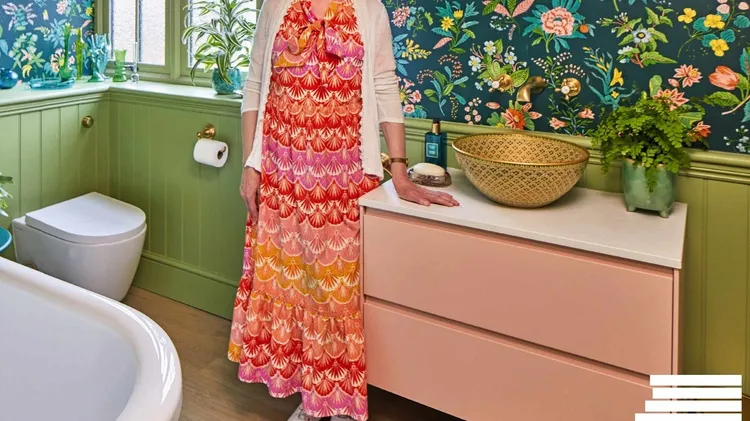
Whether you’re renovating an existing room or starting from scratch, our expert explains what you should budget for when designing this essential space
We knew as soon as we saw this house that it was the one. It was quirky, full of character and by the river, but we realised the bathroom was going to be a challenging project. We had an enforced peri
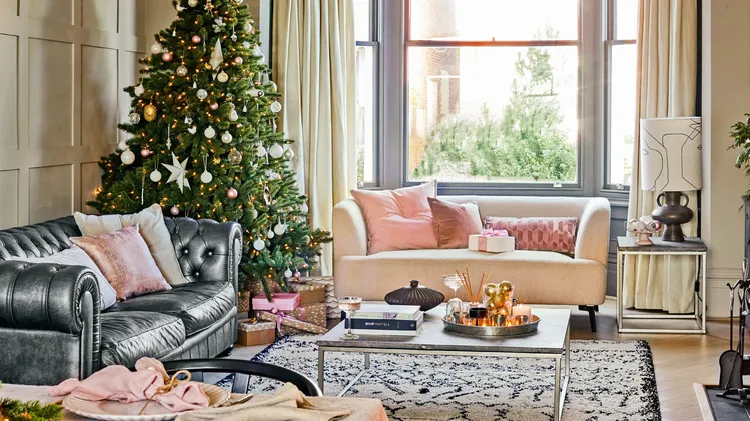
Nicky Aldridge has given this Victorian townhouse a fresh new look that’s full of style and sparkle
1 DON’T FORGET THE FIFTH WALL The concept ...