Europe
Asia
Oceania
Americas
Africa
Procreate
Bo Feng Lin shares the process behind his qu
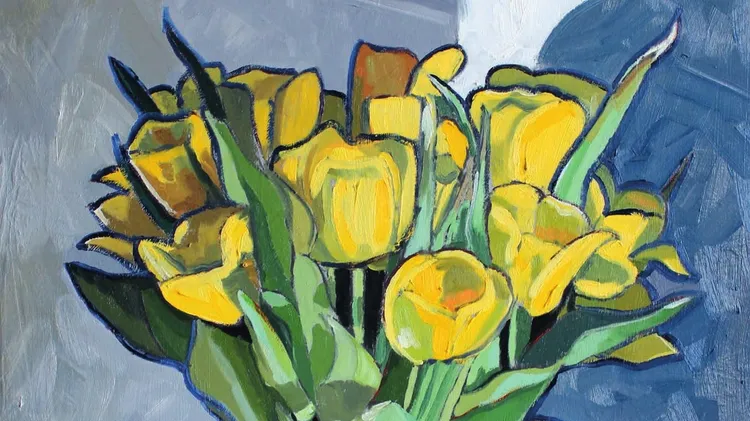
I AM USUALLY DRAWN TO PORTRAITURE in my studio practice, but recently I wanted a subject that might push me in a different direction and challenge me. The answer came, unexpectedly, from something as
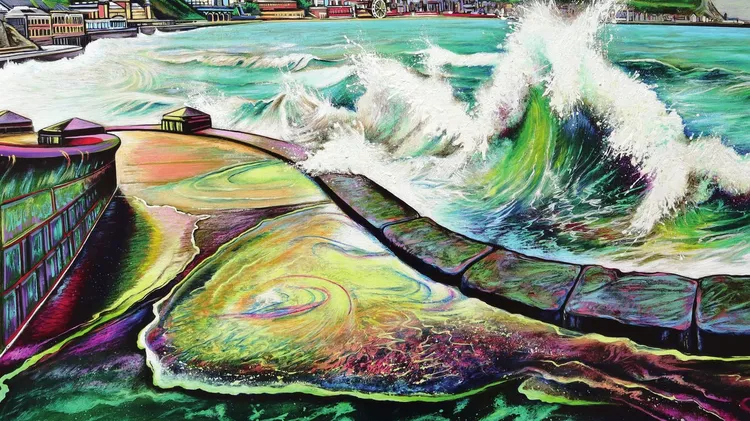
I LOVE TO WATCH A ROUGH SEA, especially in winter. There is something mesmerising about the rhythmic movement. This sheer power rejuvenates the mind, filling you with awe – it is uplifting and almost
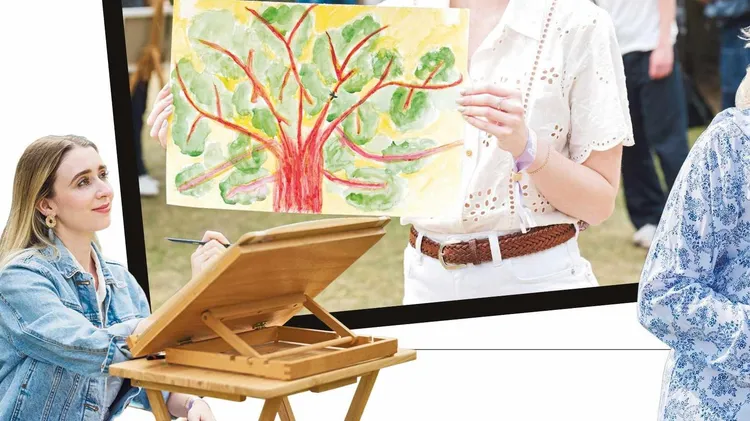
Through intricate, annotated sketches, Karen Neale creates a picture of life in the historic Lincolnshire town she calls home
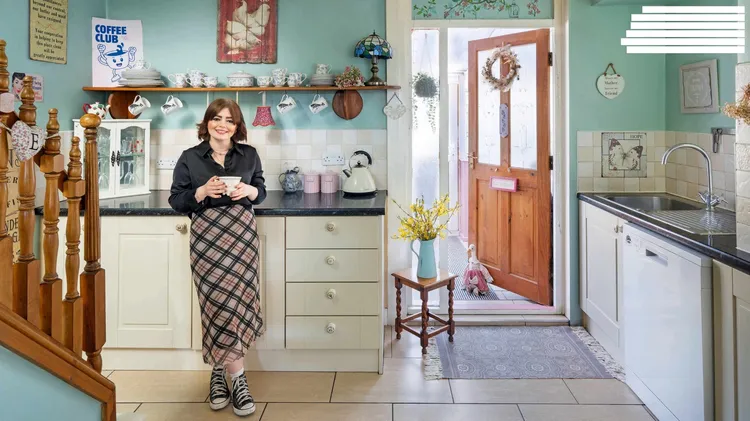
This house has been our family’s home for 60 years, and it’s lovely to have that continuity. My mum was born here on the living room floor, and it used to belong to my late grandparents. It’s set over
STATE OF THE ART
Travelling the world, with a nomadic lifestyle, Belinda Eaton’s unique style derives from an infusion of diverse cultural influences. With arresting portraits of giant birds and tattooed women, set on