Europe
Asia
Oceania
Americas
Africa
Getting your image i
Your guide to making the most of Apple’s latest version of macOS...
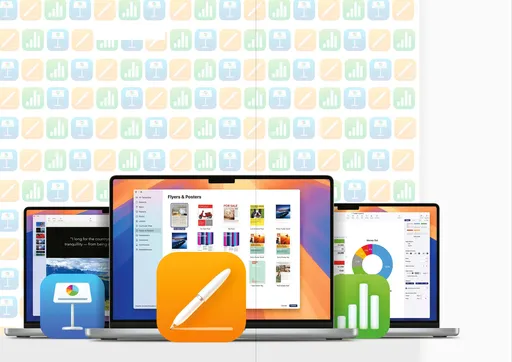
Make top–quality documents with Apple’s amazing iWork applications — Pages, Numbers, and Keynote