Europe
Asia
Oceania
Americas
Africa
There’s nothing more classic than Star Wars, so Ferenc De
Send your views, using ‘Dialogue’ as the subject line, to edge@futurenet.com . Our letter of the month wins an exclusive Edge T-shirt
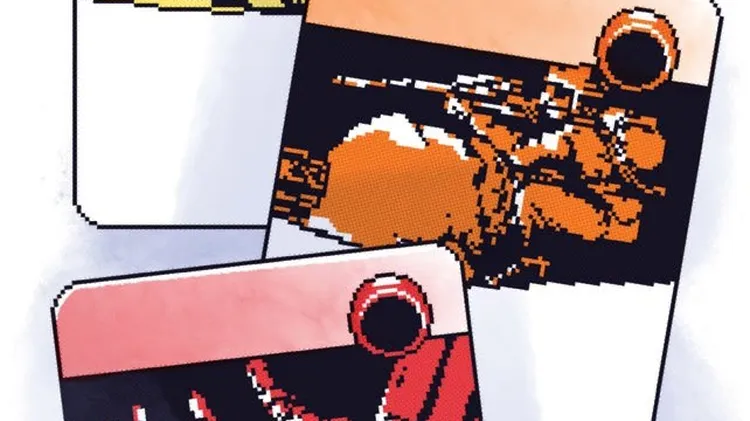
THE HOMEBREWER'S KIT
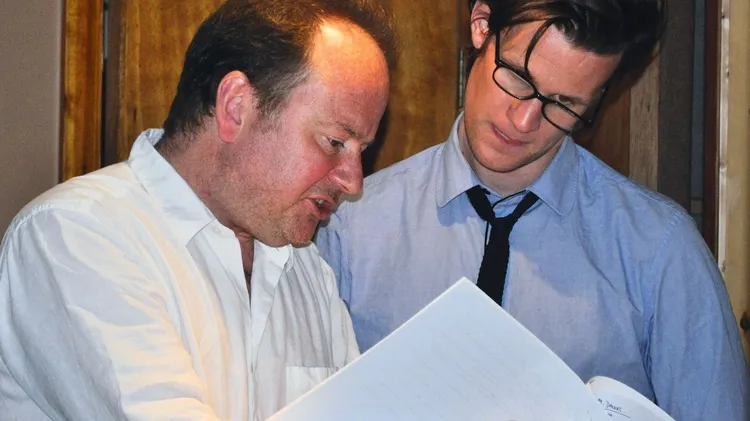
CHARLES CECIL
The best way to spend your pocket money
Standing in front of our childhood home, the ...
Journeys to the farthest reaches of interactive entertainment