Europe
Asia
Oceania
Americas
Africa
APPLE SKILLS macOS
Outlook is now free for
Must–try tips for Mac, iPhone, iPad, and Apple Watch
Give your Mac a makeover with Tahoe, the most customisable macOS ever
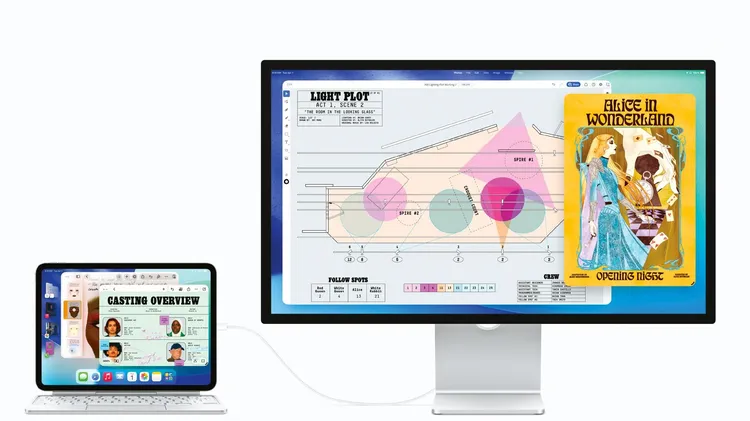
Could you really ditch your Mac in favor of Apple’s tablet?
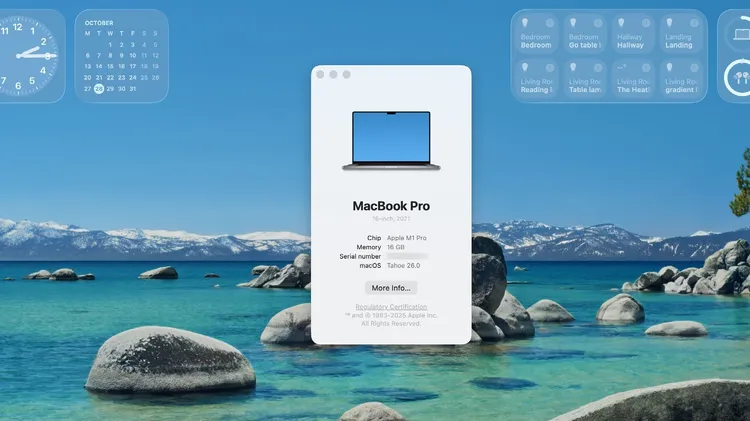
Apple has overhauled the way you find and access files in macOS 26
Apps and tips to keep your Mac ticking
How to expand, repurpose or sell your ageing Mac