Europe
Asia
Oceania
Americas
Africa
Workbench EXPERT MODELLERS SHOW YOU HOW
PART TWO
Having create
In the final instalment of this series, Peter Marriott adds details to his Cornish china clay-themed layout and explains how he created the realistic stream.
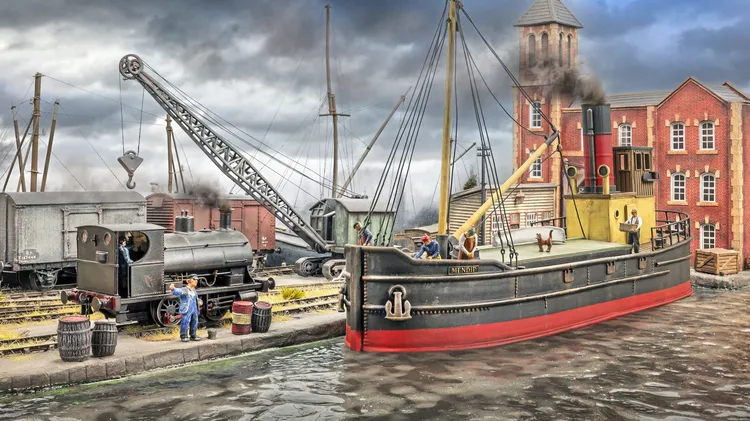
Chris Nevard sets sail on the final part of his journey to build a coal-fired ‘Clyde Puffer’ steam cargo ship.
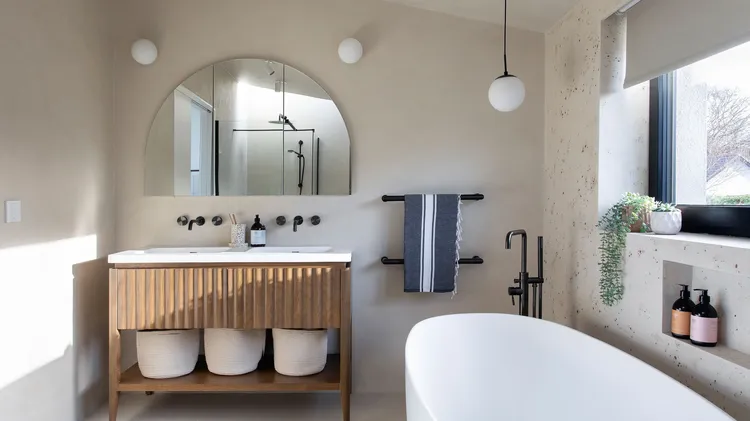
WHILE LOOKING FOR INSPIRATION, MEABH REALISED HER FAVOURITE LOOKS WERE ALL FINISHED WITH MICRO CEMENT
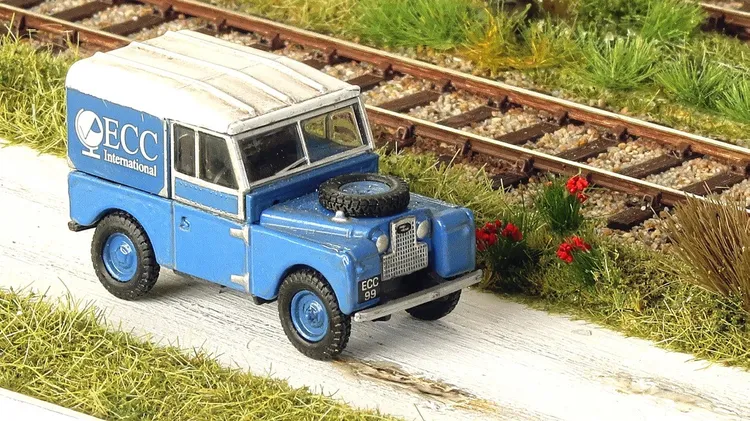
Grounded van bodies can still be seen across the UK. Steve Nall created a handful of vans, in varying states of dereliction, trying out different weathering techniques in the process.
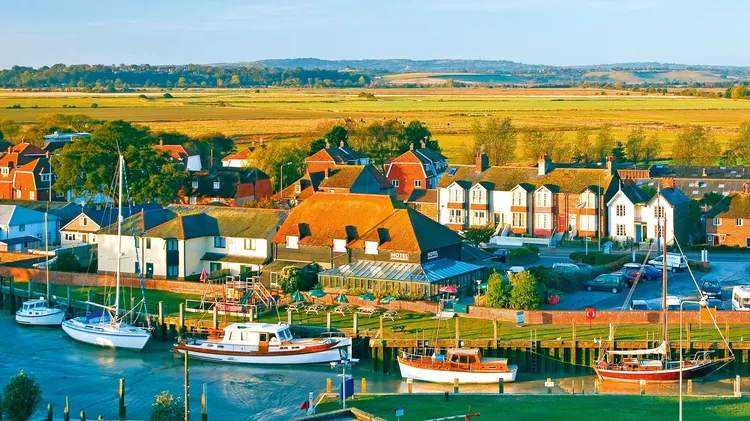
Celebrating 100 years of the BBC Shipping Forecast, Jane Russell takes us on a series of coastal cruises through the forecast sea areas, exploring some of the special places on offer in each of them
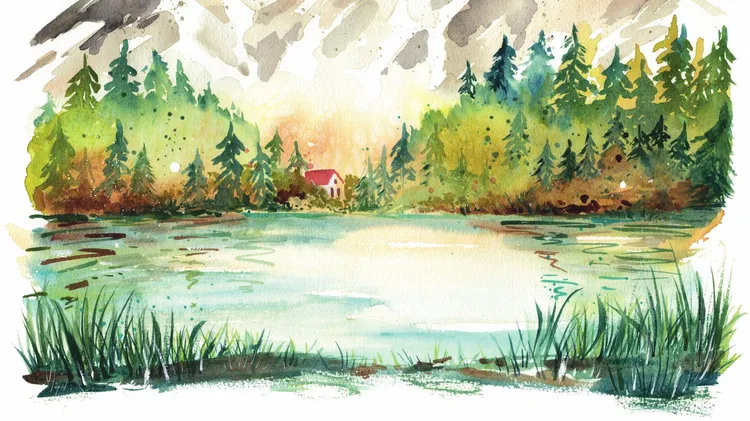
Watercolour painting requires planning. Most paintings are done in layers, working from lightest to darkest and using the white of the paper as a highlight. So how do you approach a media that is hard