Europe
Asia
Oceania
Americas
Africa
LEARN HOW TO USE A HOME STUDIO KIT FOR STUNNING RESULTS
Learn the basics – and much more – in our photo skills crash course!
10 things you can shoot and create this month, from BMXs and badgers to train sets and lakes at dawn
Master the art of modern photography
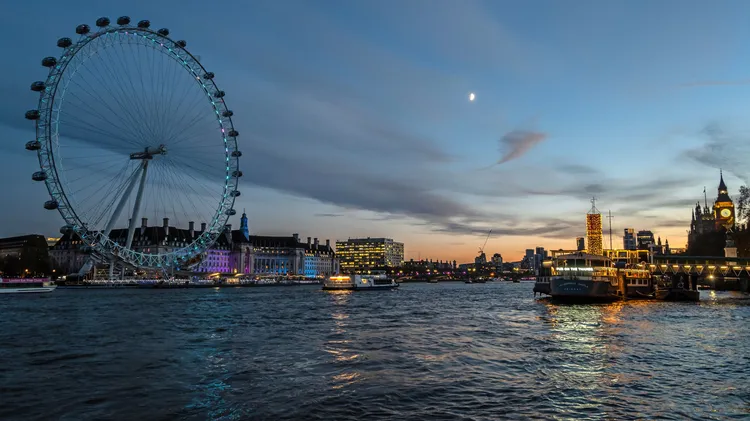
5 | URBAN
Lightroom has a range of tools for the task, says Sean McCormack
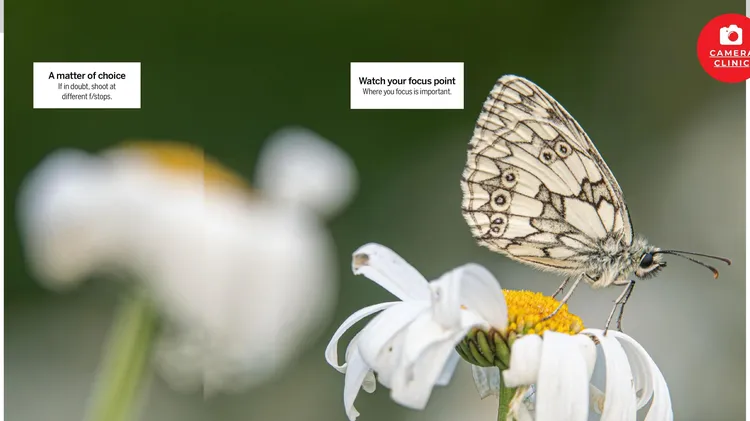
Feeling frustrated by flashguns? Misfiring autofocus making you anxious? Send your technique and camera questions to digitalcamera@futurenet.com