Europe
Asia
Oceania
Americas
Africa
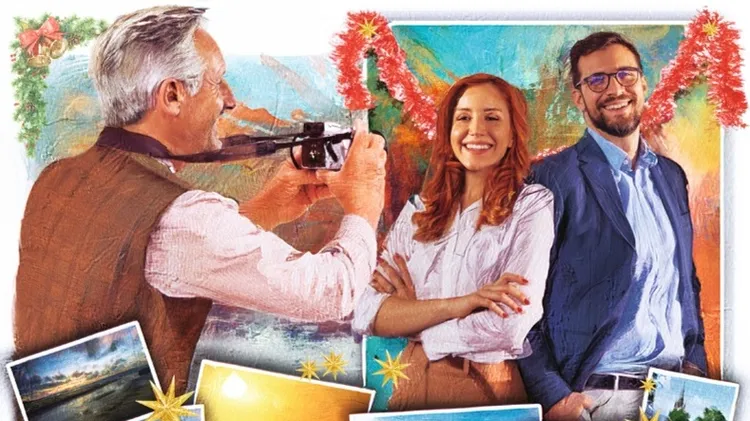
James Paterson shows you how to transform your photos into stunning Christ
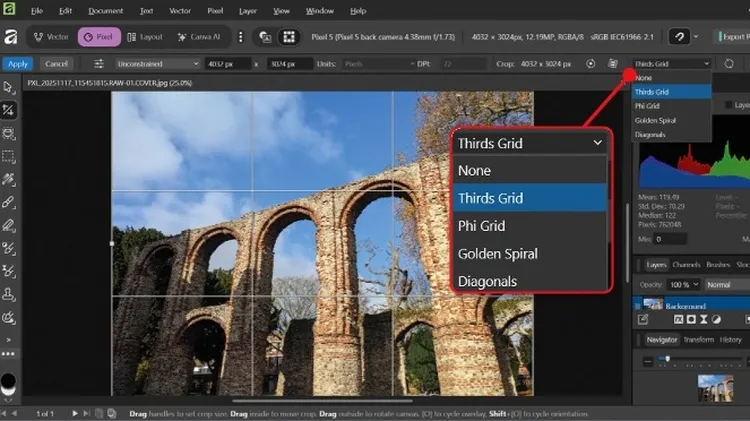
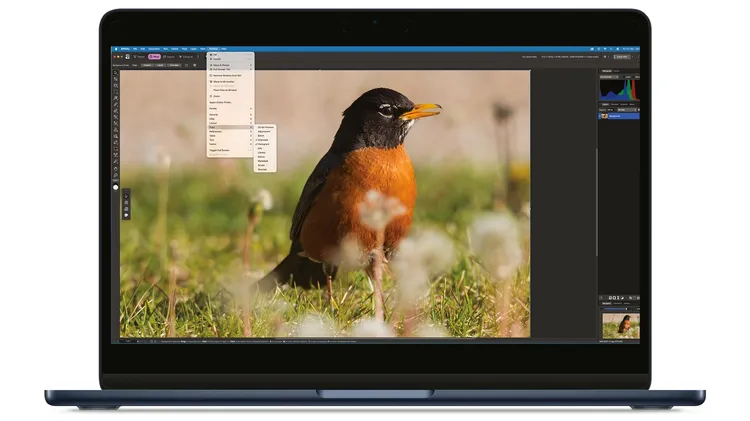
Something exciting happened at the end of October. Canva, best known for its online design and photo-editing tools, launched a single Affinity software suite, combining the image-editing, vector-graph
A complete creative studio for zero cost
RIGHT. I have come to a decision,” Mel said one weekend, as she cleared away the breakfast things. “In that case, I’m off. Bye, Mum, see you later!” “Wait, Seth. Stay exactly where you are! You have n
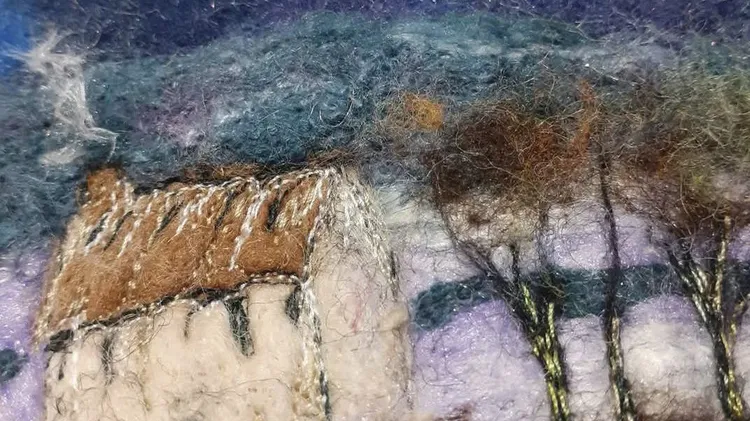
These pages are dedicated to sharing projects and showcasing the talents of our popular Makes & Bakes group
From castles and street festivals to photo walks and portfolio reviews, the UK has hundreds of low-cost activities and resources to keep you inspired and active all year round. Tracy Calder chooses 40 of the best
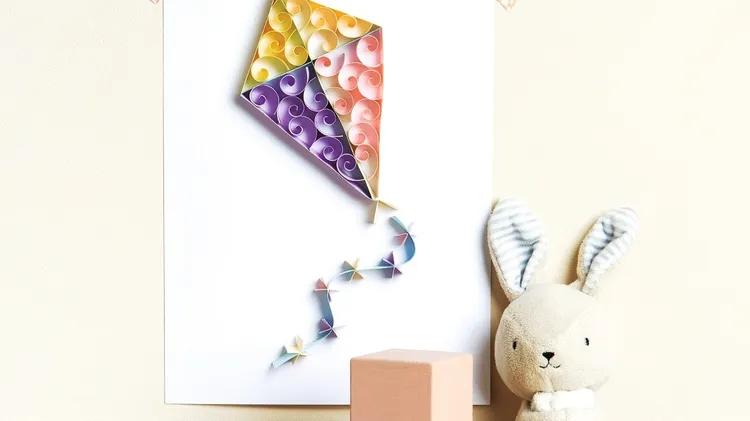
EASY You Will Need • Quilling papers: 10 mmstrips in Pink (3), Lightpurple (7), Sky blue (9),Light green (22), Lightyellow (38) and Apricot(52) (our selectionavailable fromtillyviktor.com) • Your choi