Europe
Asia
Oceania
Americas
Africa
Project six: The big project
James Paterson discovers this
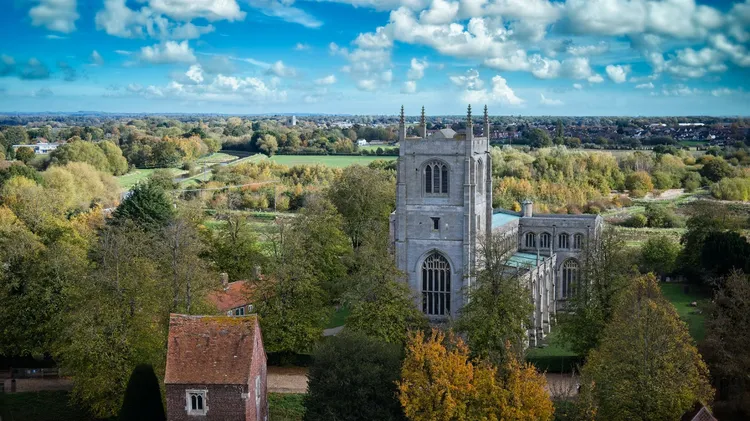
James Abbott explains how to boost plain skies in your cityscapes, with four simple but effective Photoshop techniques
Spotlight on readers’ excellent images and how they captured them
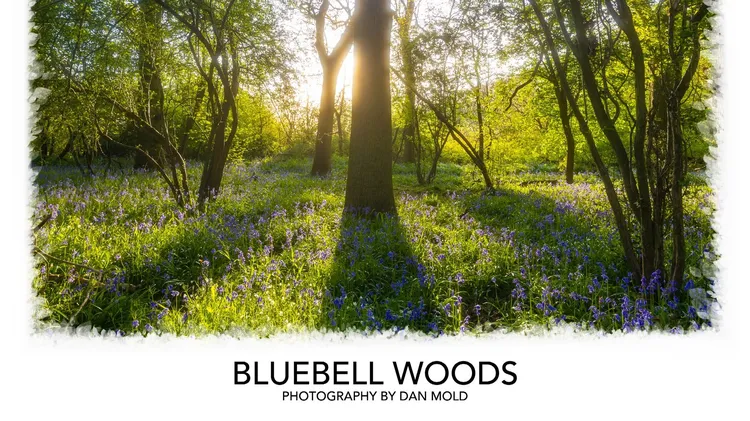
Dan Mold helps make your shots look their best with fine-art borders in Photoshop
Wendy Evans continues our new series on getting to know ON1 Photo RAW MAX 2026
Four members of the Photobook Club Collective reflect on photography editing challenges and the role of collaboration and community support in turning large bodies of work into photobooks, writes Gabrielle Motola
Master the art of modern photography