Europe
Asia
Oceania
Americas
Africa
PROJECT 3
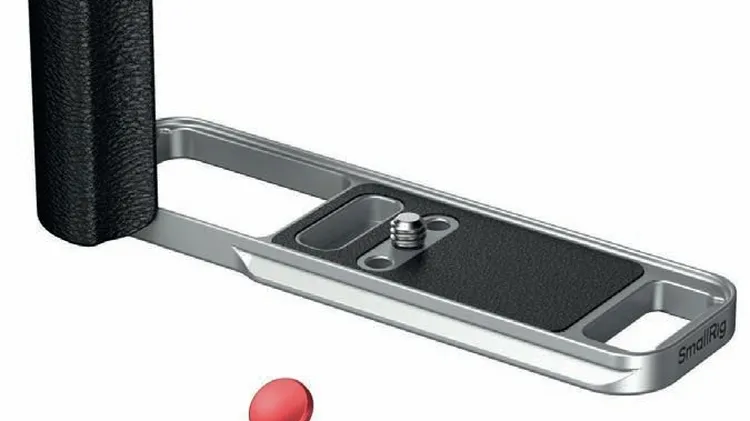
Angela Nicholson tests a custom-fit plate that enhances the grip for the Fujifilm X-E5
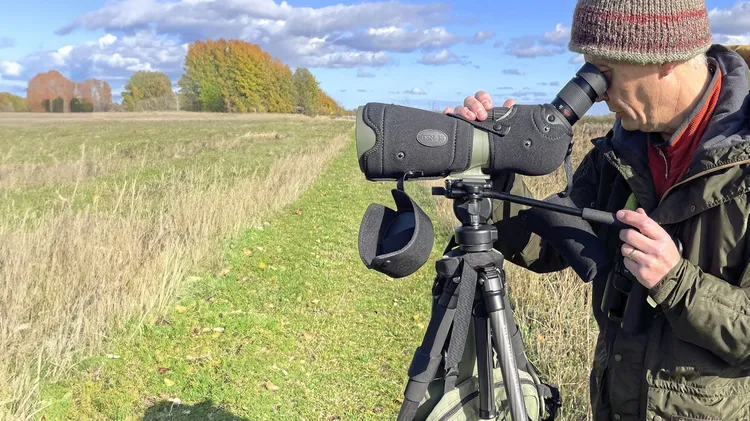
Lighter, more compact scopes have been the trend over the past couple of years, as you’ll see…
Andy Westlake assesses a unique telephoto lens for extreme close-up photography
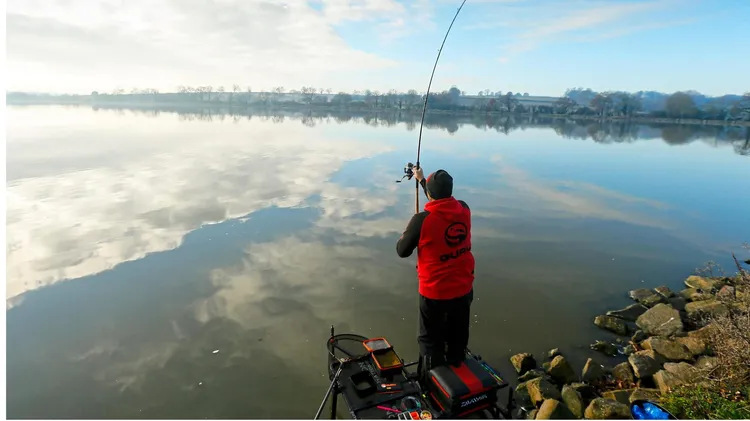
CHAMPION ANGLER STEVE TAKES AN IN-DEPTH LOOK AT YOUR ANGLING PROBLEMS
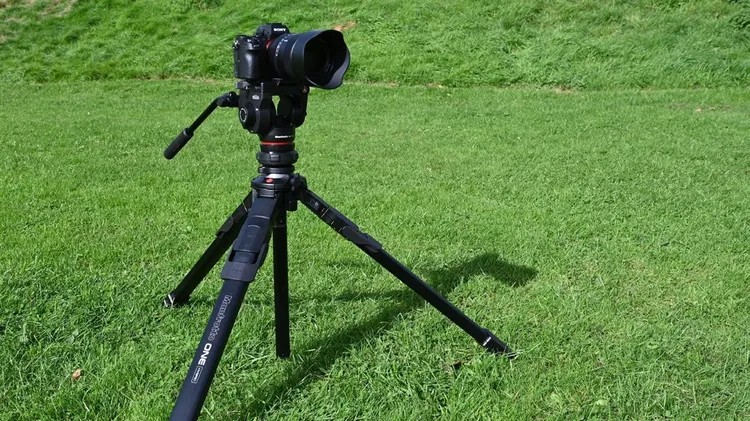
Agonising over astrophotography shots? Traumatised by your next tripod choice? Send your technique and camera questions to digitalcamera@futurenet.com
Handle is about a foot long Head will ...