Europe
Asia
Oceania
Americas
Africa
PROJECT 1
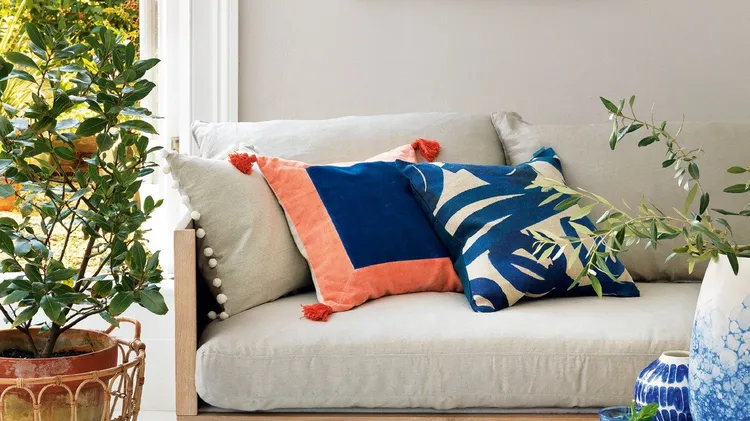
Tips and tricks for an epic photo booth set-up with Jam
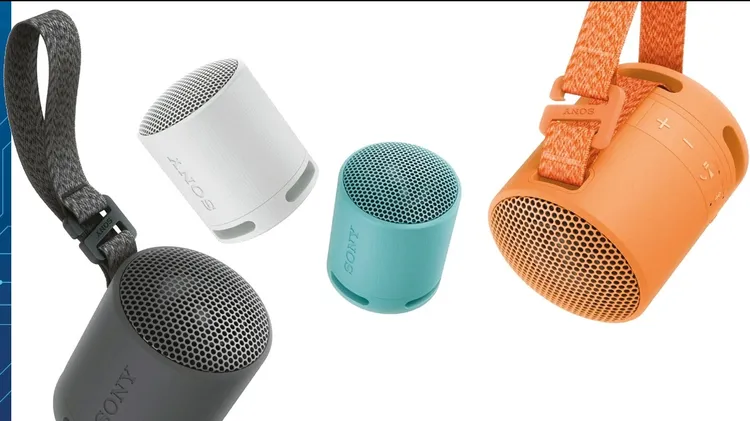
PHYSICAL STORAGE Store small USB sticks in craft boxes I’ve just started transferring MP3 files to small USB sticks to use in the appropriate socket in my Bluetooth speaker. But storage as usual with
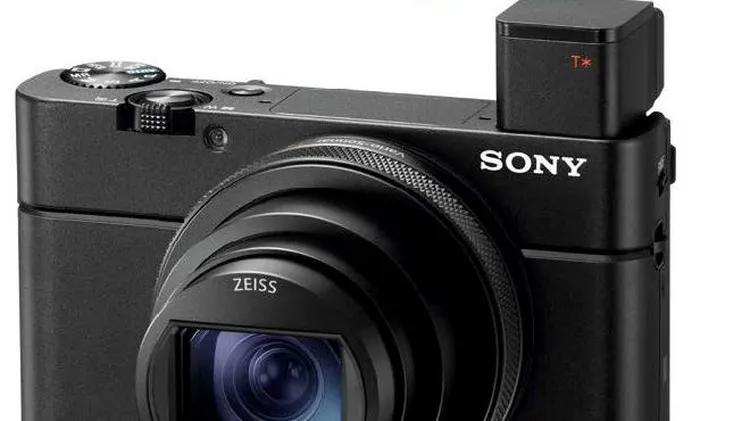
From trusty cameras to fun accessories, here’s our pick of the best gear for travel video and photography enthusiasts
The award-winning photographer has just published a book about how to succeed in the medium. Niall Hampton finds out more
£979 from dji-retail.co.uk DJI has pushed the weight of this drone to the absolute limit, officially weighing just a tenth of a gram less than the 250g ceiling that introduces tighter restrictions. It
1 DON’T FORGET THE FIFTH WALL The concept ...
Must–try tips for Mac, iPhone, iPad, and Apple Watch