Europe
Asia
Oceania
Americas
Africa
CRASH COURSE
ESSENTIAL PHOTO SKILLS MADE EASY
Mike H
Andy Westlake assesses a unique telephoto lens for extreme close-up photography
Agonising over astrophotography shots? Traumatised by your next tripod choice? Send your technique and camera questions to digitalcamera@futurenet.com
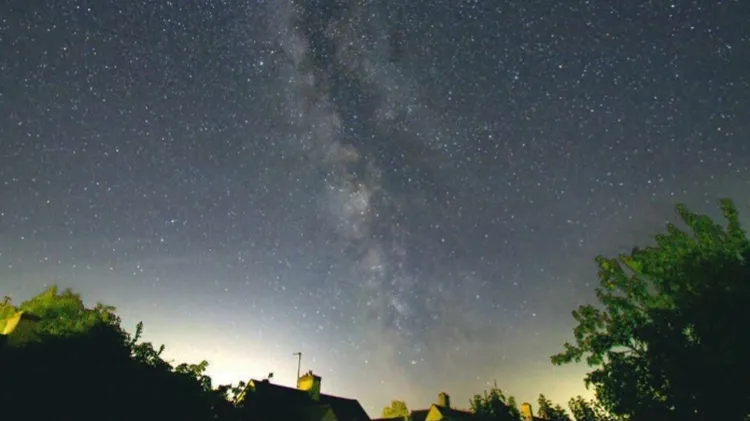
The Milky Way is a firm favourite for nightscape photographers and astrophotographers alike, but beautiful images of our Galaxy are well within reach of beginners with basic entry-level equipment too.
Smaller, cheaper, lighter – Sigma’s updated 35mm f/1.2 lens brings better quality and usability to this moderately wide offering, says Damien Demolder
The award-winning photographer has just published a book about how to succeed in the medium. Niall Hampton finds out more
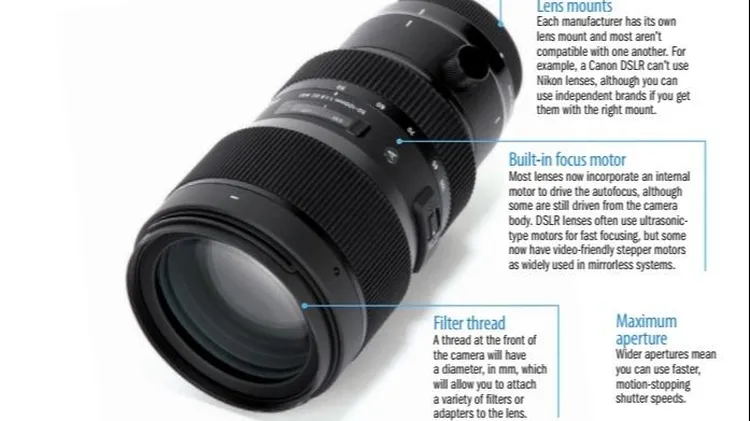
Our comprehensive listing of key specifications for DSLR lenses