Europe
Asia
Oceania
Americas
Africa
CRASH COURSE
ESSENTIAL PHOTO SKILLS MADE EASY
Mike Harris
Andy Westlake assesses a unique telephoto lens for extreme close-up photography
If you’re planning to enter our Urban Life round, which launches next week, take these tips from four of last year’s top ten photographers
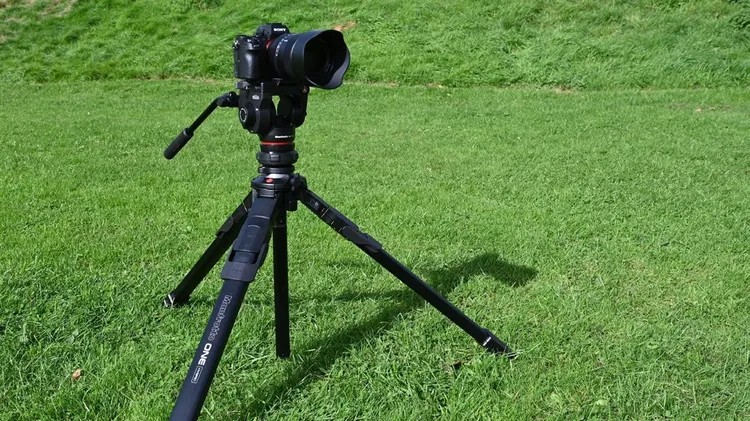
Agonising over astrophotography shots? Traumatised by your next tripod choice? Send your technique and camera questions to digitalcamera@futurenet.com
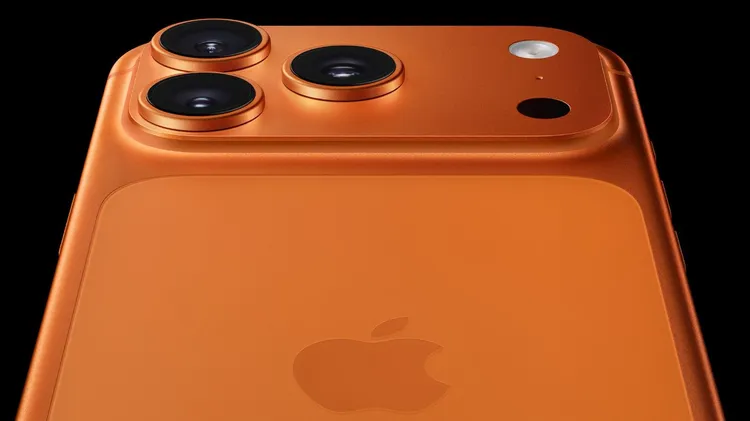
Get up to speed with Apple’s most powerful camera setup yet!
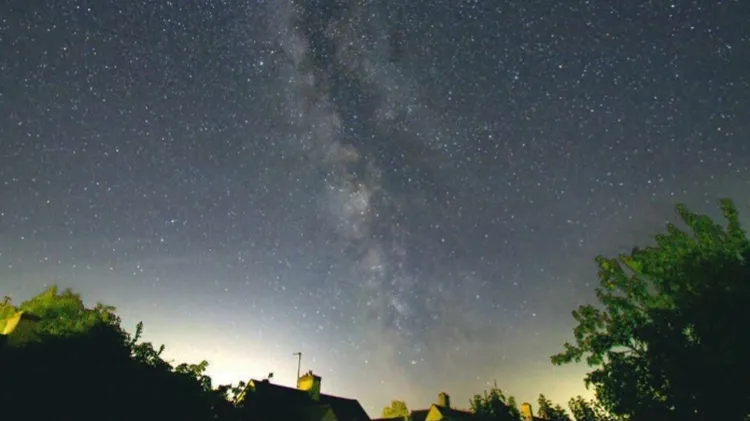
The Milky Way is a firm favourite for nightscape photographers and astrophotographers alike, but beautiful images of our Galaxy are well within reach of beginners with basic entry-level equipment too.
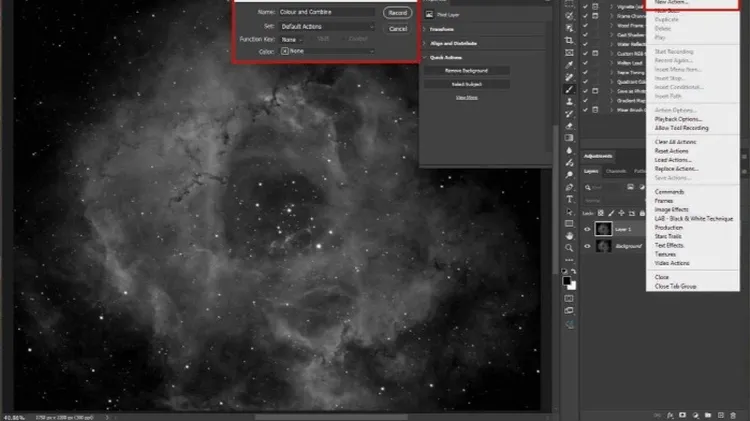
There’s a lot to master in astrophotography processing. Pulling fine detail from noise and coaxing out faint colour is rewarding, but it can also be very time-consuming. Today, editing software ranges