Europe
Asia
Oceania
Americas
Africa
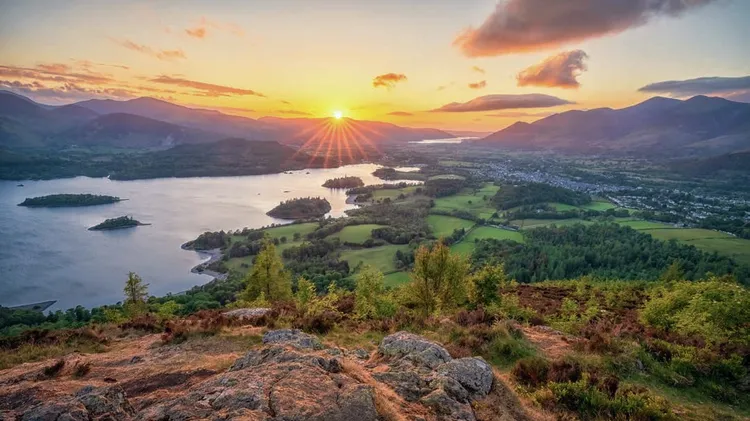
Take your best scenic images further using natura
Give your shots a new look with our Actions, presets, profiles and LUTs
Discover new ways of colour toning your images in Photoshop, with Wendy Evans
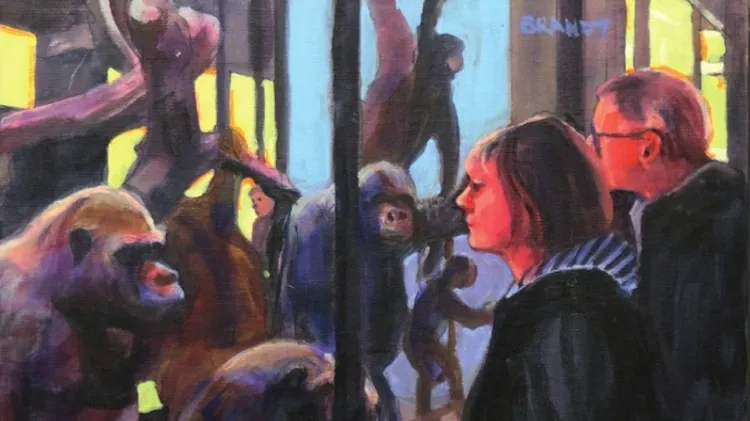
Like many artists, I often develop designs for paintings from photographic reference, despite its still being thought of by many as cheating. They argue that it is only by working directly from the su
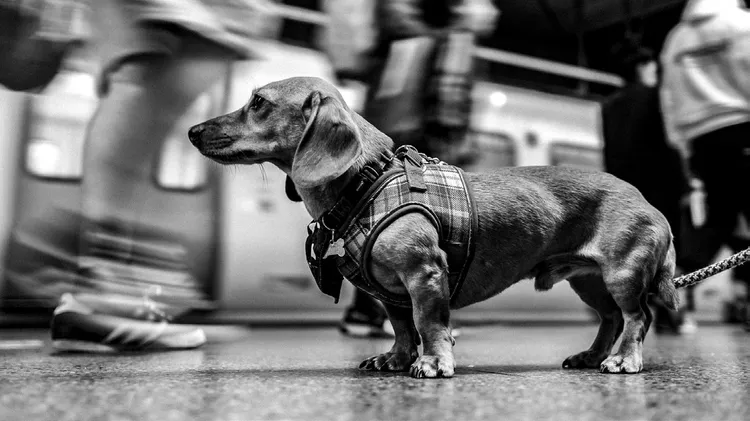
Spotlight on readers’ excellent images and how they captured them
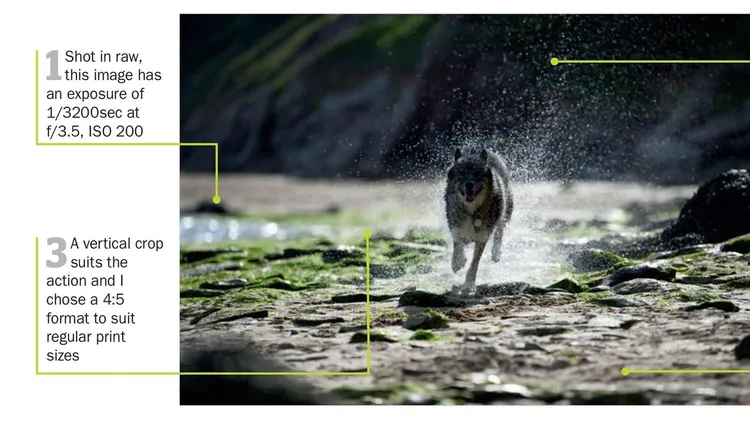
Expert dog photographer Kingsley Singleton shows how to edit this back-lit shot so it’s ready for printing