Practical Motorhome
Upgrade your motorhome in four ways
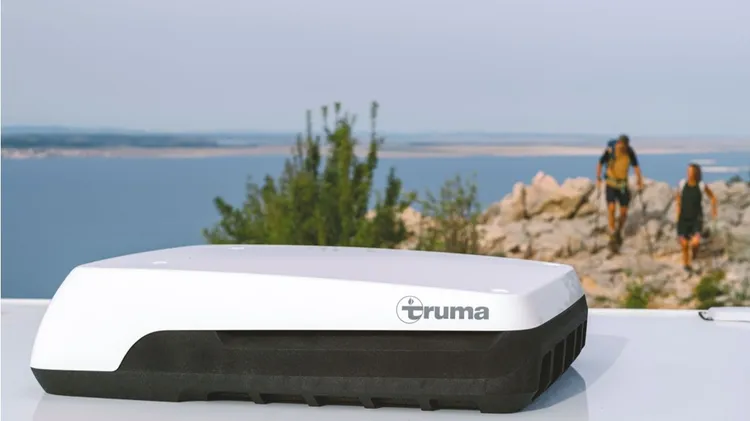
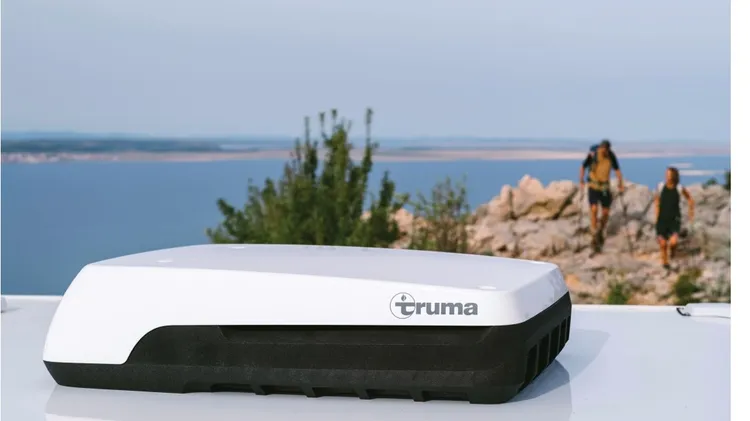
Modern motorhomes combine practicality, cosiness and even style in equal measure. Whether you spend £15,000 on a used bargain, or £100,000 on the latest luxury vehicle, you can be certain you’ll have