Europe
Asia
Oceania
Americas
Africa
Fancy making some design changes? Learn how to alter a Peter Pan collar pattern to
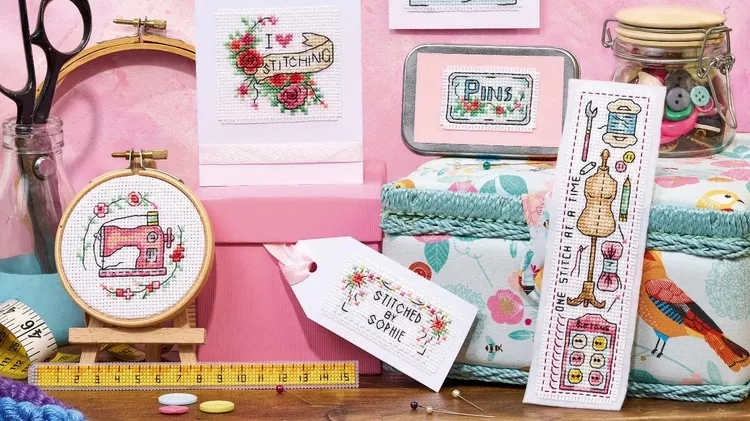
Celebrate your love of stitching with these delicate designs by Susan Bates 44 quick-and-easy motifs Susan Bates’ design inspiration Stitches for every skill level Helpful tips and advice Unique gift
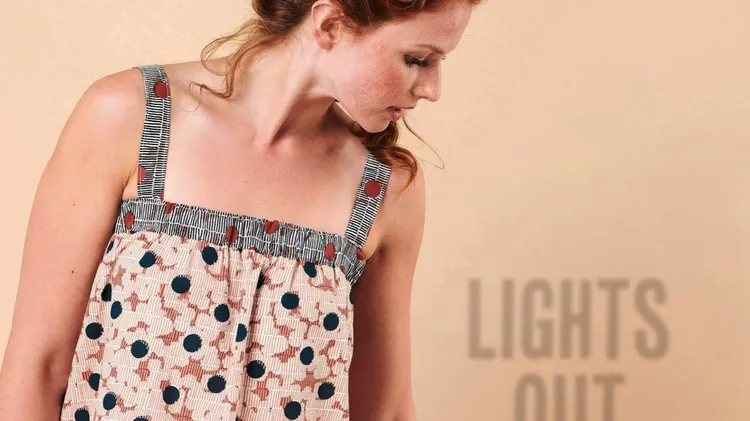
MATERIALS ■ Pair of loose-fitting trousers (to use as a template) ■ Lightweight fabric: 2.5mx140cm ■ Elastic for shorts, 3cm wide: your waist measurement + 5cm ■ Elastic for top, 3cm wide: your high b
Don’t forget to send all your stitchy questions and design requests in to us! Email us at: theworldofxstitching@ourmedia.co.uk Send in queries via Facebook too: @The World of Cross Stitching Write to:
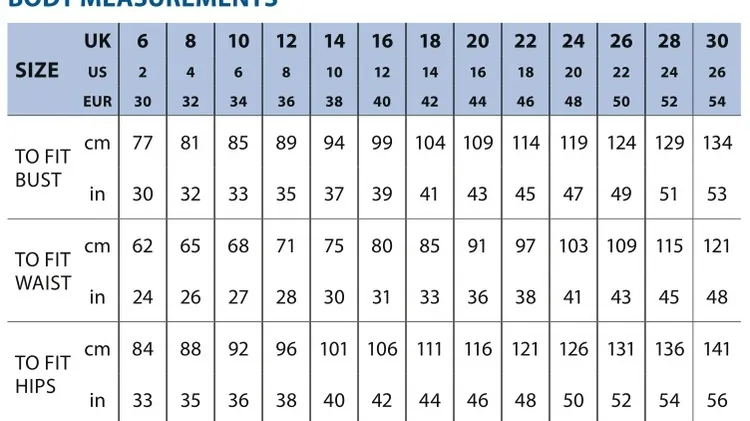
■ Pattern sheet x 1 (Tracing required) ■ Instruction sheet ■ Main fabric: Sizes 6-16: 2m x 145cm wide. Size 18-30: 3m x 145cm wide. ■ Ribbing fabric (optional): 20cm x 115cm wide (for neckband). ■ Bal
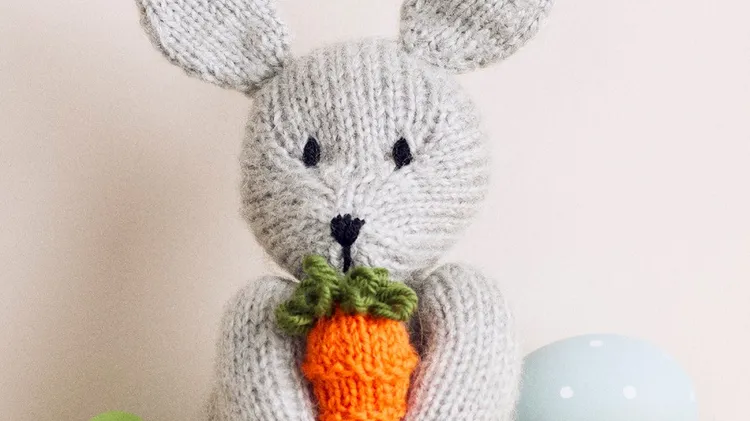
Stitch your own fluffy friend
■ Pattern sheets x2 (Tracing required) ■ Instruction sheet Version A: ■ Sizes – 6-20: Fabric 3.6m of 150cm wide fabric ■ Sizes – 22-30: Fabric 4.8m of 150cm wide fabric Version B: ■ Sizes – 6-20: Fabr