Europe
Asia
Oceania
Americas
Africa
Sew this sweet, angelic dove from Lucy Ward to make the perfect nursery decoration
Sewing and crafting is hot online: it’s a whole new world for makers joining the online sewing realm, and an ever-evolving but steady club for more seasoned members of the crafty community. Many maker
Notes Leave long tails at the cast-on and bind-off edges of each piece for sewing. Sew the seams with the RS facing, using mattress stitches unless instructed otherwise. For pieces with colourwork, wo
Glue guns at the ready – after making the baubles, there’s even more fun to be had in assembling Emma Leith’s colourful wreath ■ Lily Sugar’n Cream Solids (100% cotton, 70.9g/109m), 1 ball of each: Ho
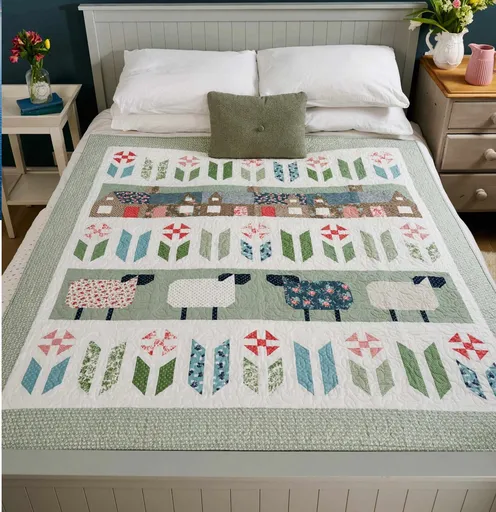
“Picture taking a peaceful stroll through a quaint country village with a row of charming cottages and the prettiest flock of sheep grazing in a flower-strewn meadow as you sew this majestic quilt. It
INCREASES Increase 1 st by making 1 yarnover, which is worked through the back loop on the next row/round to avoid a hole. DECREASES Decrease 1 st on each side of the marker as follows: Work to 3 sts