Headstart

2 min read

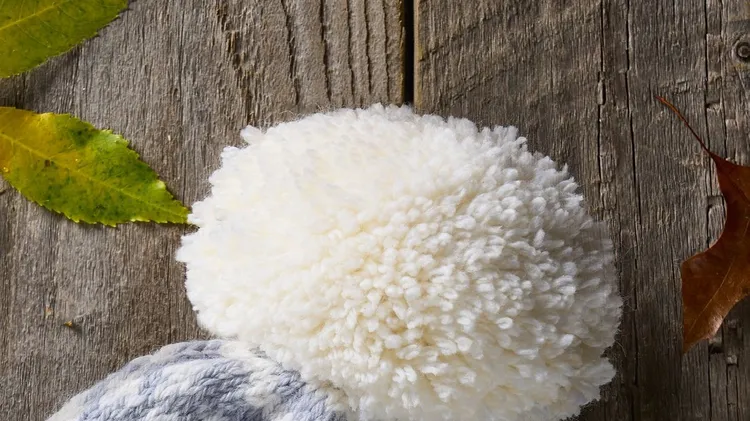
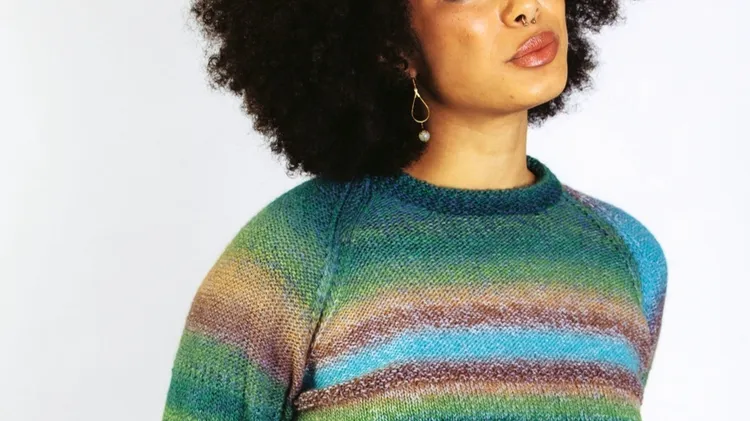
Get ahead of the cold weather with this colourful hat and scarf set. Designed by Tai Hicks

YOU WILL NEED

■ 1m of knit fabric with at least 15% stretch

■ Matching thread

■ Basic sewing kit

NOTES

■ You can sew these projects by hand, but a sewing machine would be ideal. A serger or overlocker is great to have, but not vital.

■ Use a 1cm seam allowance throughout.

CREATE THE HAT

Step one Measure around the wearer's head just above their ear and add 1cm for seam allowance. For clarity in these instructions, we'll use my measurement of 66cm. Step two Cut two pieces of fabric for the front and back of the hat. The height will be 25cm and the width is ½ the wearer's head circumference from the previous step. In this example, I cut two 25x33cm pieces. Step three Fold the front piece right sides (RS) together lengthwise. Mark your fabric to create the top curve of the hat. Start the curve a third of the way up from the bottom of the hat. 01

Step four Cut the fabric along the markings. Open the fabric and assess the shape. Once you're happy with the shape of the front piece, repeat on the back fabric piece. Step five Place the pieces RS together, pin and sew together. 02

Step six Fold the bottom of the hat to the WS by 1cm. Pin and sew in place.

CREATE THE SCARF

Step one Decide how long you want the scarf to be. Remember that the scarf will be one continuous loop that you'll want to wrap around your head and neck. For clarity in these instructions, we'll use my measurement of 188cm long and 25cm wide. Step two Cut two 74x10cm pieces of fabric for the front and back of the scarf.

Step three Place the fabric RS together in preparation to sew the long sides together. Step four On one side, sew the length of the two fabric pieces together. On the other side, sew the two fabric pieces together, but leave a 12cm gap unsewn towards the middle of the fabric. You should have a long, open-ended tube with a 12c

This article is from...

Related Articles

Related Articles