The havana skirt

6 min read

Sew this stunning wrap skirt in two different lengths − the second pattern in your Simply Sewing Capsule Wardrobe

HAVANA SKIRT

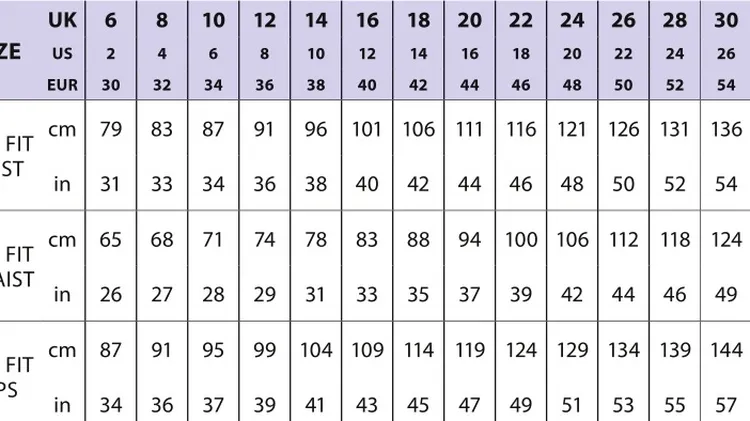
SIZES 6-30 (US 2–26/EUR 30–54)

PACK INCLUDES

■ Pattern sheet x 2 (Tracing required)

■ Instruction sheet

YOU WILL NEED

Fabric:

■ Sizes 6–16: 2mx115cm Sizes 18–24: 3mx115cm Sizes 6–16: 2mx140cm Sizes 18–24: 2.8mx140cm

■ Lightweight woven interfacing:

30x90cm

■ Button: 2cm diameter

■ Matching thread

■ Basic sewing kit

NOTES

■ Seam allowance is 1.5cm, unless otherwise stated

RECOMMENDED FABRICS

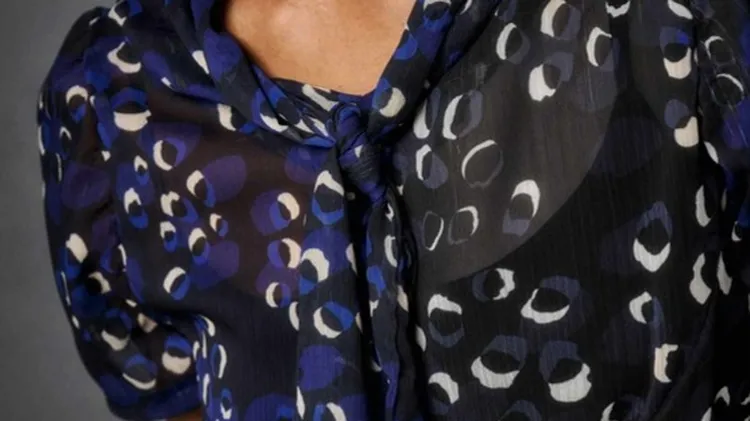
■ Light-to medium-weight woven fabrics with good drape, such as cotton, linen, rayon, chambray, viscose, or broderie anglasie.

SKIRT A

SKIRT B

STITCHING TERMS

RS/WS: Right side/wrong side of the fabric. The right side usually has the print, design or texture and the wrong side is usually plain or duller in appearance.

Machine tack: Use a long stitch length to hold a section in place. Don’t backstitch at the start and end.

Finish the seams: Finish the raw edges with a zigzag stitch or an overlocker.

Press: Pressing fabric is placing the iron down, holding it for a few seconds, lifting it and placing it down again. Ironing is the movement of sliding the iron back and forth to remove creases.

Understitch: Stitch close to the seam line usually on the side that will be on the inside of the garment such as the facing. This will hold the seam allowance in place when the garment is worn.

Staystitch: Stitching in areas prone to stretching such as necklines to hold the fabric in shape while it is being worked on.

Topstitch: Stitching usually from the right side of the garment to hold seam allowances in place or can be used for decorative purposes.

Toile: Known as a muslin in the US. A test garment, often made from calico or muslin to check the fit or test a pattern before the real fabric is used. Once you've made and fitted a toile transfer any changes to the pattern.

CUTTING OUT

Step one From the main fabric, cut: Front Skirt (A): one pair Back Skirt (B): one on fold Front Waistband (C): one pair Back Waistband (D): one Rouleau Loop (E): one

Ties (F): one pair

Step two From the interfacing cut: Front Waistband Interfacing (G): one pair Back Waistband Interfacing (H): one

MAKING THE SKIRT

MAKING THE ROULEAU LOOP Note that the Rouleau Loop fabric p

This article is from...

Related Articles

Related Articles