All tied up

3 min read

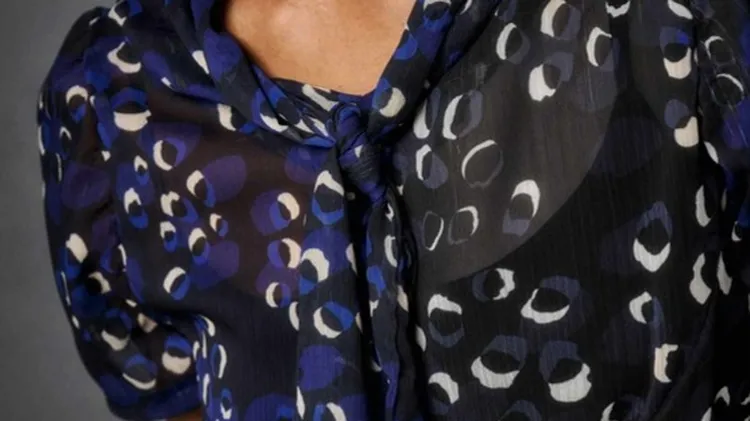
Sew this easy-to-make stylish wrap top and elevate your wardrobe with a multi-wear garment. Portia Lawrie shows you how.

DRAFT YOUR OWN!

YOU WILL NEED

■ Main fabric: 2m

■ Matching thread

■ Basic sewing kit

NOTES

■ Use a lightweight fabric with a good drape.

FABRIC USED

■ We used flake pecan cotton viscose fabric from atelierbrunette.com

TIPS & SUGGESTIONS

■ Draft with a grown-on sleeve for
more arm coverage

■ Add a frill or ruffle around the neck
and opening

■ Make in a jersey for added stretch

■ Make in a sweatshirt or terry knit for
a cosier version

TAKING MEASUREMENTS

Step one Measure your bust/chest at the fullest part. Add 15-20cm to this measurement (This includes wearing and design ease, and seam allowance) then divide by 2. This will give you your W measurement. Step two Measure from the top of your shoulder, over your bust/chest at the fullest part, and down to your waist. This will give you your L measurement.

CUTTING OUT

Step one You can either create pattern pieces in paper or you can cut your pieces out directly from your fabric.

Step two Back Section: Begin by cutting a rectangle that is W wide by L long. This will form the back of your top. Step three Fold your rectangle in half along the centre back. Starting perpendicular to the centre back, cut out a curved wedge approx 5cm deep and 12cm wide for the neckline; then cut a shallow slope for the shoulders, as pictured above. 01

Step four Front Sections: Use the Back Section as a template to cut two Front Sections. Lay the back section on top of your folded fabric, with one of the shoulders folded back on itself to create a diagonal fold that extends from the neckpoint, to a point at the side seam that is 7cm above the hem. Cut around your template piece leaving an additional 1cm seam allowance along the diagonal edge. 02

Step five Back Neck: Make a strip of bias tape from a 3cm wide bias strip cut from a scrap of your fabric Step six Ties: Cut two ties that are each 7cm wide and at least double the width of your top in length.

PREPARING THE PIECES

Step one Pin the 3cm bias strip to the right side (RS) of the back neck. 03

Step two Sew the bias to the back neck, grade the seam allowance, press away from the garment and understitch. Press to the inside of the garment but do not stitch in place yet. Step three Along the diagonal front edges, press a 5-8mm hem to the inside of the garment but do not stitch in pl

This article is from...

Related Articles

Related Articles