Europe
Asia
Oceania
Americas
Africa
Make a splash with paint, silk, and stitch to create your own bright and beautiful
STITCH ON THE GREEN I wanted to show you my latest finished project. I bought this DMC* kit in Belgium more than 20 years ago (it was priced in Belgian francs, not euros), thinking that one day I will
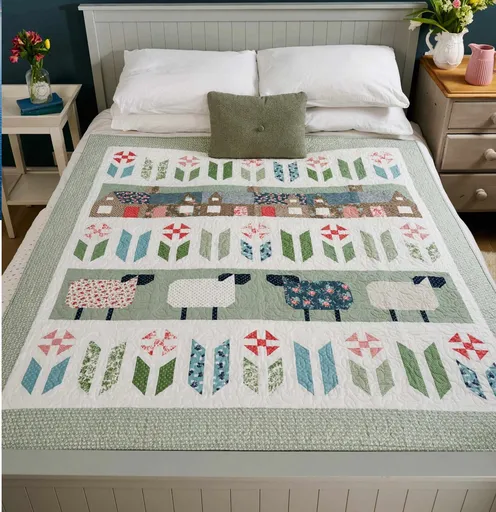
“Picture taking a peaceful stroll through a quaint country village with a row of charming cottages and the prettiest flock of sheep grazing in a flower-strewn meadow as you sew this majestic quilt. It
For July we have three more budget-priced kits on 11 count aida. These kits are great for stitchers wanting to progress their cross stitch skills by working a larger project, or for those wanting an e