Spinning webs

6 min read

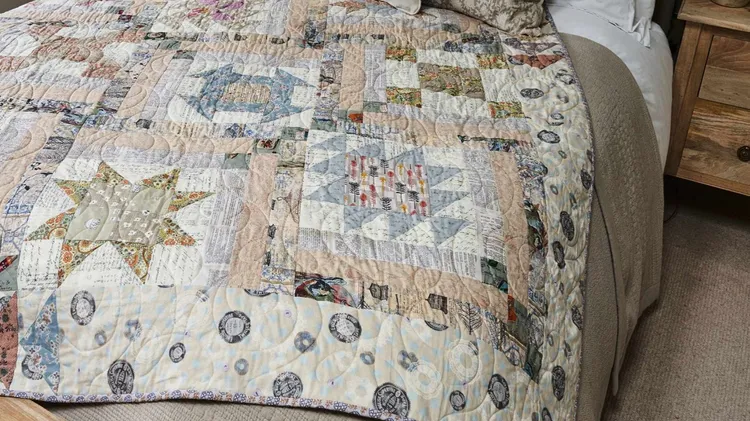
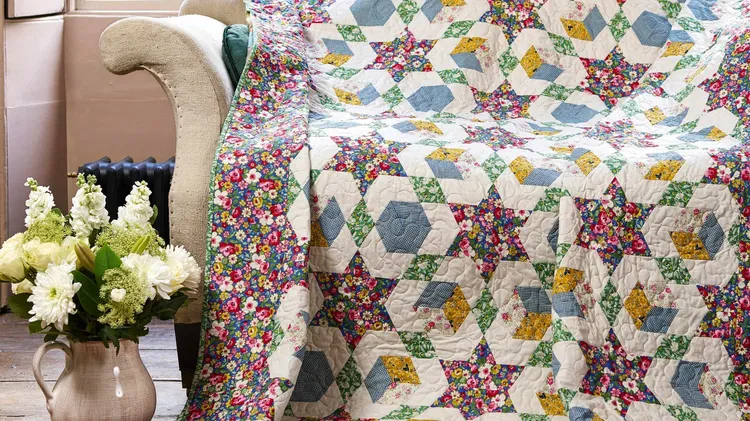
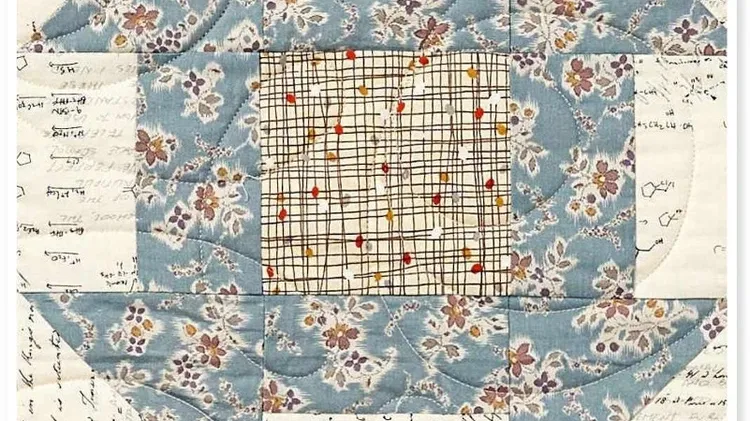
Put leftover fabric scraps to good use by making this charming quilt design.

Made by CAROLYN FORSTER Quilted by TRUDI WOOD

STRING QUILT PROJECT

Cutting out

1 From the cream calico foundation fabric, cut the following:

■ Nine (9) 16¼in x WOF strips. Subcut into eighteen (18) 16¼in squares. Cut the squares twice on the diagonal to make seventy-two (72) quarter triangles in total.

2 From the outline/first string fabric, cut the following:

■ A variety of width strips, cut between 1in, 1½in and 1¾in across the WOF (see Notes*).

3 From the scraps to fill in, cut assorted widths and colours from your scrap bag.

4 Cut the backing fabric into two (2) equal pieces.

5 From the binding fabric, cut seven (7) strips of fabric 2½in x WOF. Join with bias joins, removing the selvedge and pressing the seams open. Press in half along the length WS together.

Making the quilt top

6 Use Template A to draw on the WS of the cream foundation triangles from step 1. Match the top of the template to the top of the triangle and draw along the sides onto the calico. The point of the kite shape will NOT reach the raw edge of the calico (Fig 1). This means that the point will be intact when the SA is sewn.

7 Take the outline strips from step 2 and working with RS together, but looking at the WS of the triangle, place the outline strip so that you can see it above and below the drawn line and a SA away from the line (Fig 2). Carolyn just eyeballs the SA on the strip, but you could mark a ¼in line if you wish. Pin in place.

8 Stitch from the top to the bottom raw edge of the triangle, sewing the strip to the calico (Fig 3).

Carolyn suggests you can chain piece the triangles onto the strips if you wish. Any pieces of outline strip cut off that are not long enough to be fully used can be joined together, seams pressed open and then used.

9 Carolyn worked all of the same side of the triangles first in a chain, then snipped them apart.

10 Flip and press the outline strip on the RS of the triangle so the RS is facing up (Fig 4). Flip and press gently so that you don’t distort the foundation triangle. Repeat on all the triangles before sewing the outline strip to the remaining side.

11

You will be using the same process as in steps 7-8, but sewing from the base of the triangle up to the point this time (Fig 5). Press.

12 You are now ready to add strips to fill in the triangle corners and for this you will be working from the RS of the fabrics from now on.