Pie crust stencil

3 min read

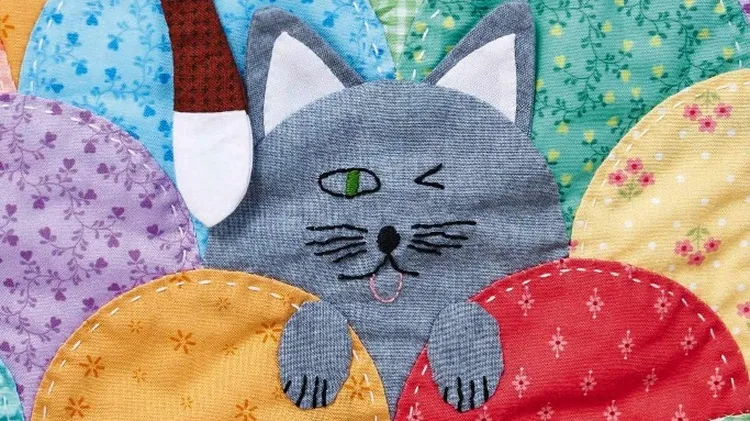
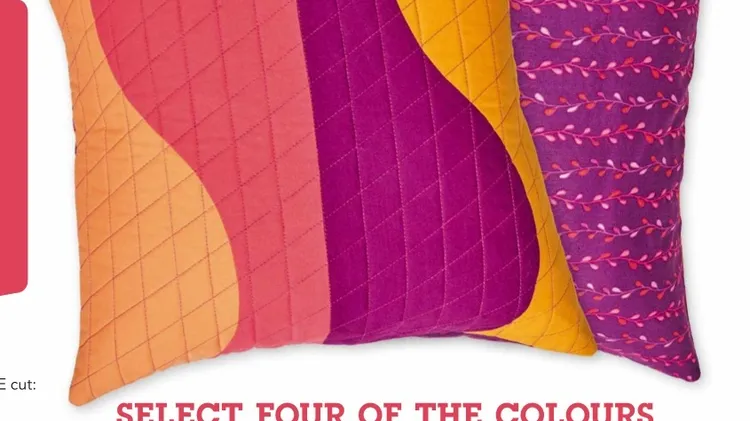
Stitch the final luscious layer in your quilts with our perfect Pie Crust stencil! Try a slice or make the whole pie, it’s delicious!

We love quilts here at Today’s Quilter. Small ones, large ones, hand or machine quilted, no two are the same and, with this issue, you get a beautiful Pie Crust quilting stencil to make your quilts even more special!

Why is it called the Pie Crust? Well the shape is half a pie ( Fig 1), but you can make a whole pie or fit sections into your patchwork by the slice (delicious)! (Figs 2A-B)

1 This fantastic quilting stencil offers versatility for your quilting. You can mark it out to hand or machine stitch. Hand stitching it is super easy. Layer up your quilt using your preferred method, whether that is stitch basted or using a basting spray, making sure there are no wrinkles. Lay the quilt out on a flat surface and decide on where to position the template. Lay the stencil down and draw along all the lines using a removable marking pen/pencil. You can place pins to help keep the stencil steady if you wish (Fig 3).

2 A good place to start is to “pop” your knot where a discreet seam sits, popping the thread knot between the layers. Once the knot has been “popped” it should be anchored and you are ready to quilt. You will find as you work up the shapes you can occasionally anchor threads and then run the thread, hidden between the layers, up to your next starting point. Other times you might prefer to anchor the thread and stop, then restart the thread where you want to begin quilting again – similar to starting a new length of thread. It’s a rhythm you find as you hand stitch.

3 If you want to machine quilt using the stencil, there is slightly different approach. In a way you have to think like a long-arm quilting machine! These wonderful quilting machines can stitch over lines a few times to build patterns up. So keep this in mind when choosing a thread.

4 You can leave ends to sew in once the quilting is complete or maybe your sewing machine does this job for you. Set your machine at your favourite quilting stitch length, usually longer than for piecing, make sure you have a walking foot attachment and relax your shoulders! Tense shoulder, tense curves.

5 To sew the stencil shape (half of the pie), begin along the flat bottom, start with the needle at the red arrow, point X on Fig 4. Sew along the flat base following the orange arrows round the first