Europe
Asia
Oceania
Americas
Africa
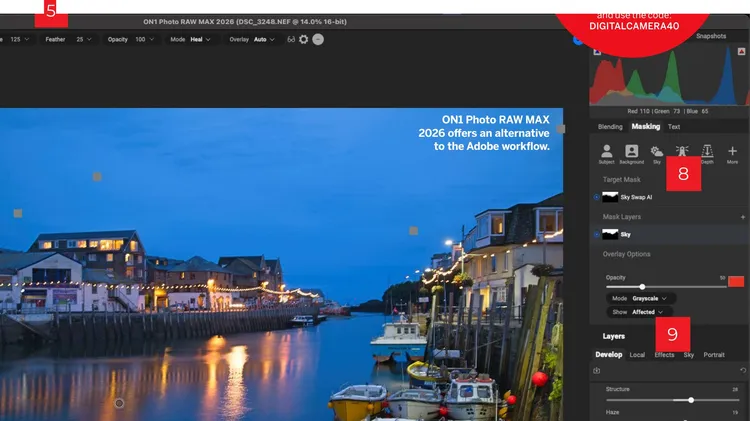
DAVINCI RESOLVE
Software specialist Lewis
Wendy Evans takes a tour around the key features of this new raw editing package
When people think of AI they largely think of text-based chatbots such as ChatGPT. But chatbots are only scratching the surface of what’s possible with the tsunami of AI tools that are flooding onto t
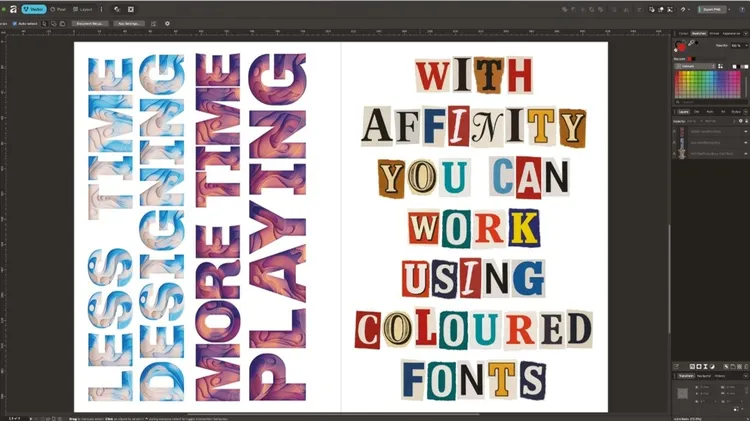
For the past decade we’ve been recommending Affinity Photo as an affordable, buy-once alternative to Adobe Photoshop, with companion apps Affinity Publisher and Affinity Designer making persuasive riv
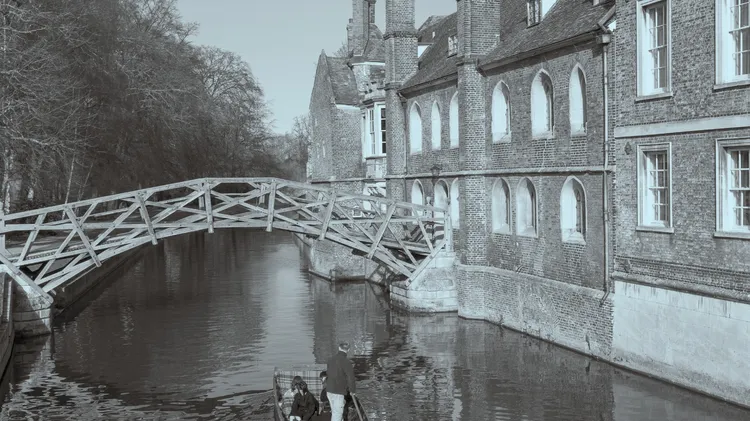
Wendy Evans explains how to create disintegrating portraits with the help of Affinity Photo 2’s brushes, layer masks and Mesh tool
Lightroom has a range of tools for the task, says Sean McCormack
Photo Filters are used for colour correction, but combined with Blending modes, they are a versatile tool, says James Abbott