Europe
Asia
Oceania
Americas
Africa
ZBRUSH | PHOTOSHOP
Practical tips and tutorials
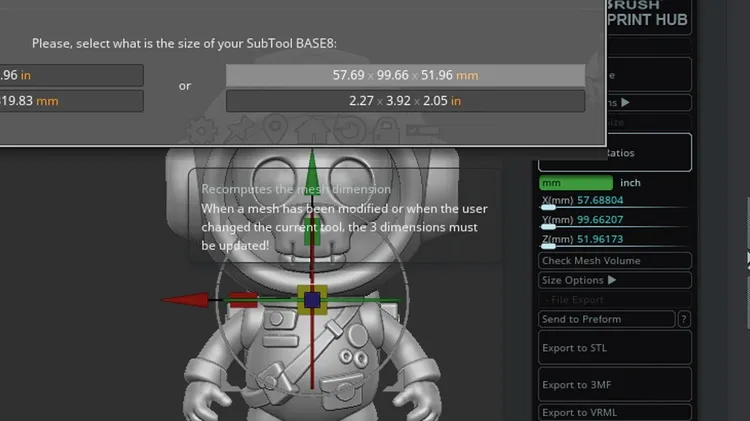
Oscar Juárez talks to us about his process for designing and creating characters to put through his 3D printer
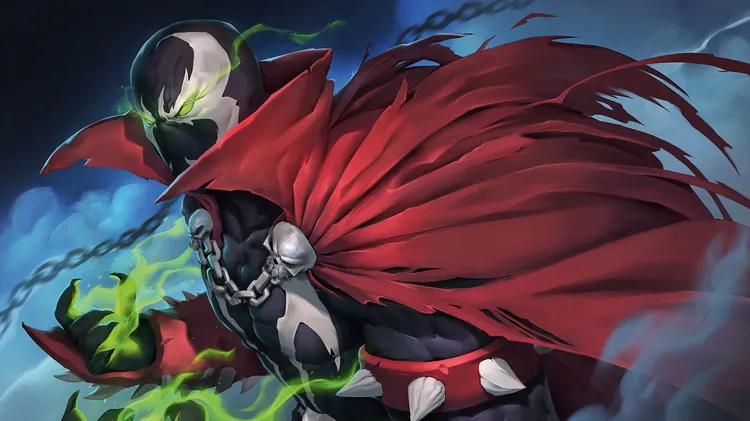
Explore ideas to pay homage to your favourite characters while making sure your own unique style shines through
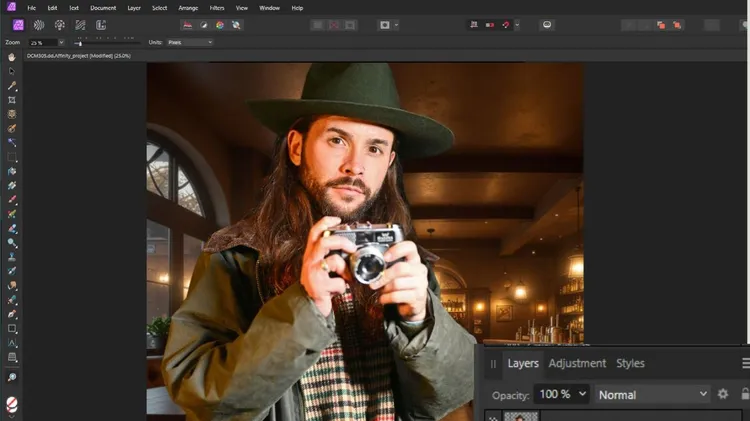
This artist likes to take a reference photo and run with it – changing elements here and there, and having fun in the process
Wendy Evans reveals the world of brush selections and layer masking in Affinity Photo 2
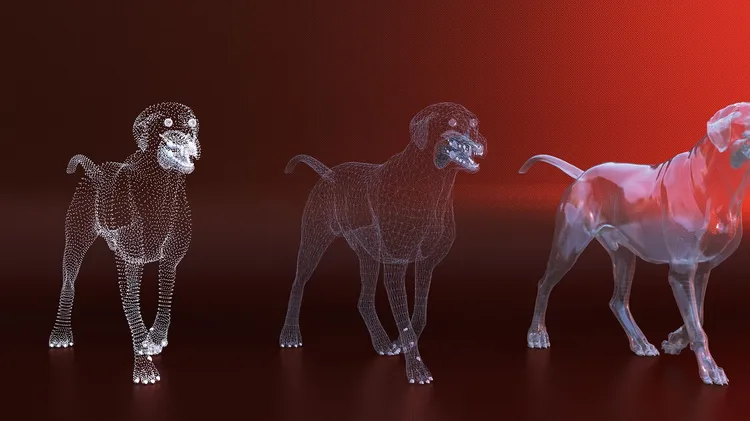
Nearly every 3D model shares the trait of being built from the same three components – Mike Griggs shows what they are and why they matter
ImagineFX takes a bigger-picture look at fan art and the challenges and possibilities that it poses for creativity