Europe
Asia
Oceania
Americas
Africa
UNREAL ENGINE 5 | FUSION 360
Sci-fi enthusi
Rob Redman shows you how you can take your 3D camera and use it add character to your renders
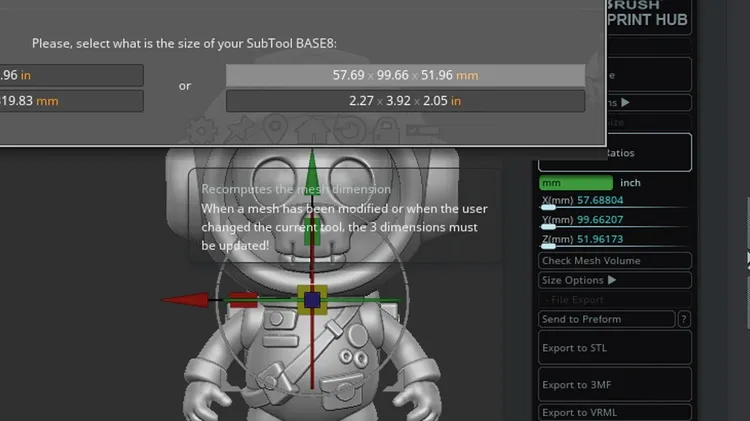
Oscar Juárez talks to us about his process for designing and creating characters to put through his 3D printer
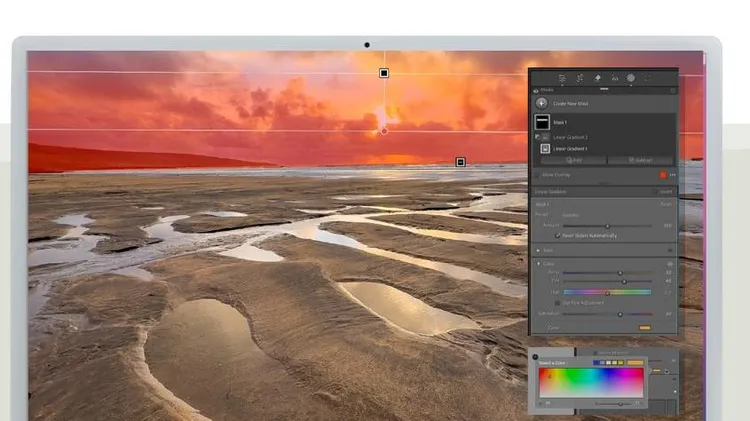
Using Lightroom, Sean McCormack shows how it’s done
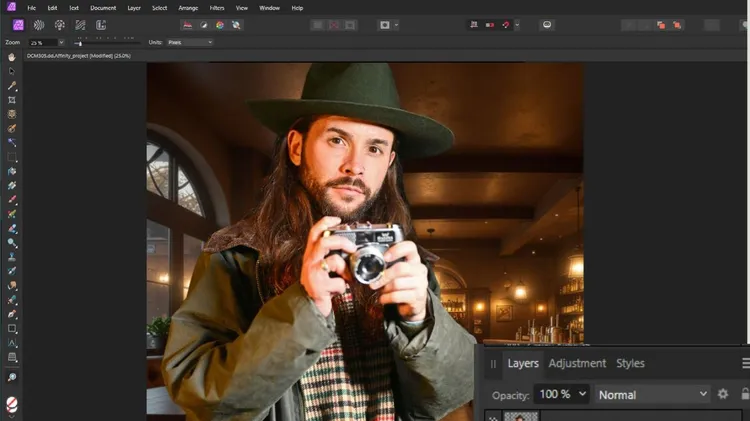
Wendy Evans reveals the world of brush selections and layer masking in Affinity Photo 2
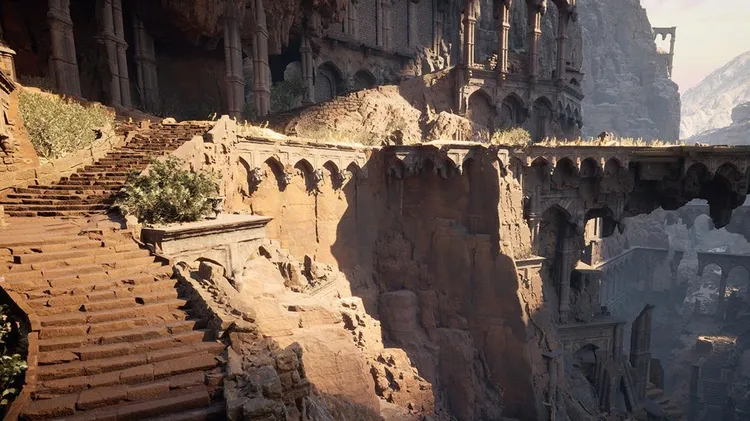
A love of fantasy encouraged this artist to create his own worlds
As seen in this month’s tutorials, give your shots a new look with our collection of software extras