Europe
Asia
Oceania
Americas
Africa
QUICK FIXES
Whatever creative styles you want to apply to your photos
Using Lightroom, Sean McCormack shows how it’s done
This month: Improve composition Compose yourself for photographs that are worth looking at more than once
James Abbott mimics shooting, editing and even darkroom effects in Photoshop to give his shots a creative finish
A few settings can make a big difference.
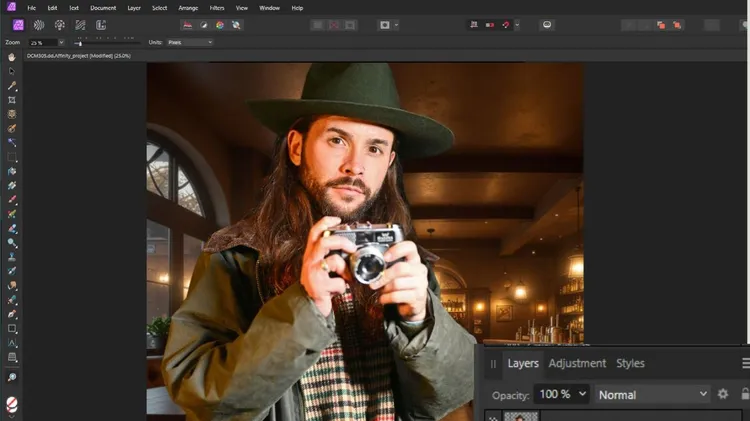
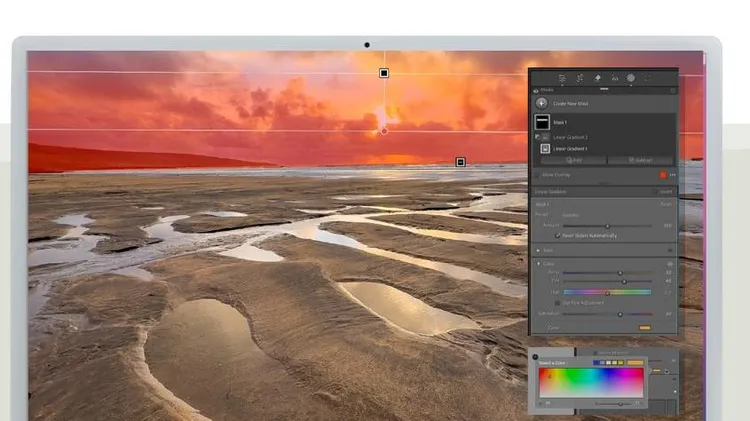
Wendy Evans reveals the world of brush selections and layer masking in Affinity Photo 2
As seen in this month’s tutorials, give your shots a new look with our collection of software extras