Europe
Asia
Oceania
Americas
Africa
Take our advice, and become a reverb master in no time
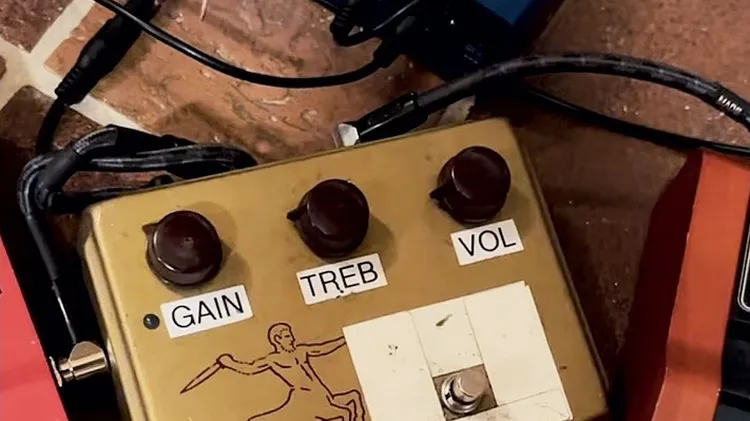
What pedals are you using these days? It’s really just my pedals strung together on the floor, but you’ll get the idea of what my show board is like. The show board is packed away with all the touring
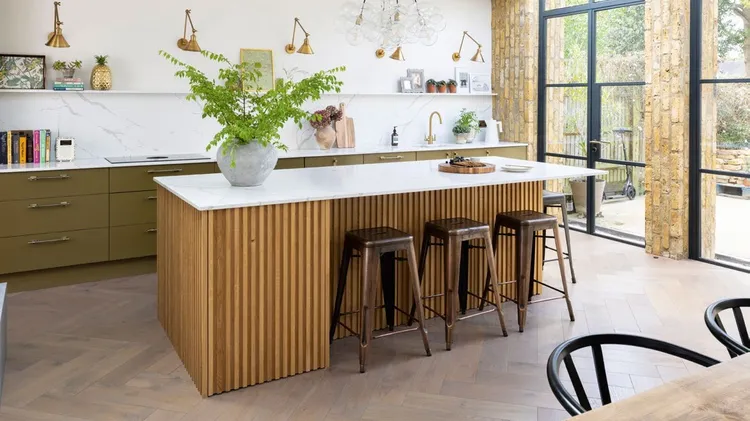
Knowing where to spend and where to save on your projects is key to making your money go further without compromising on the final result
LIVE IN A FLOOD PRONE AREA? IMPROVE YOUR HOME’S RESISTANCE AND RESILIENCE WHEN YOU’RE RENOVATING WITH THESE CHANGES
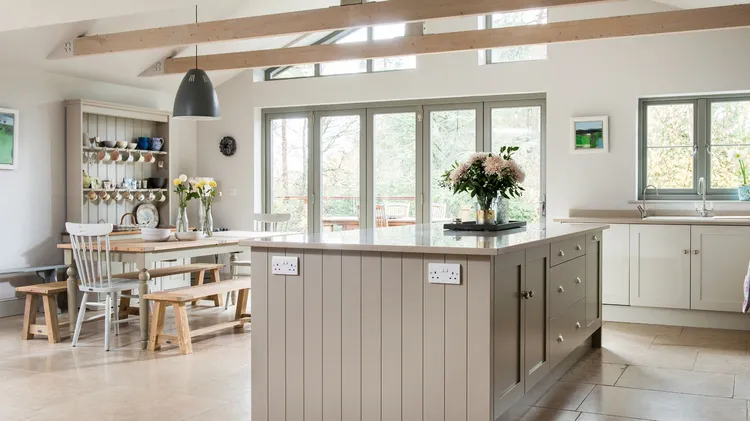
Need some advice on your self-build, extension or home renovation project?
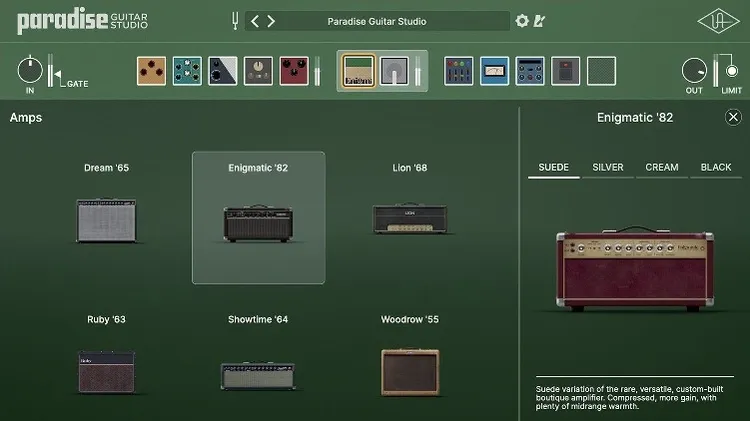
BEING NO STRANGERS to the world of guitar plugins, Universal Audio has thus far stuck with modeling individual amplifiers for its plugin offerings. Paradise Guitar Studio builds on that foundation, of
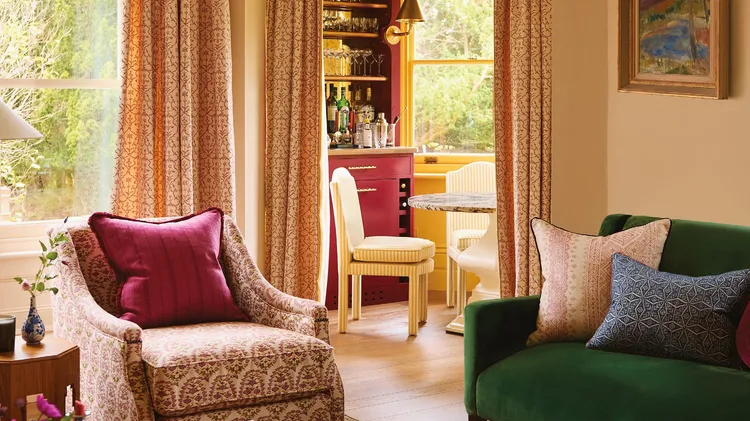
Look beyond layering to create a harmonious and versatile scheme that provides ample illumination and creates atmosphere