Europe
Asia
Oceania
Americas
Africa
Use this handy filter to mimic long-exposure scenes and t
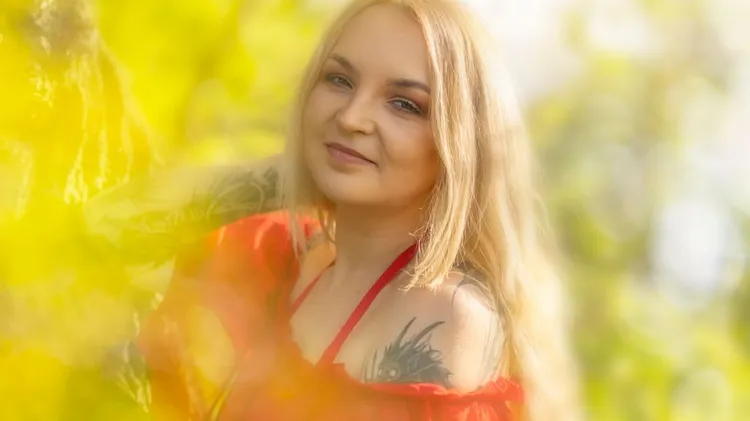
Master creative use of long exposure to capture the dynamics of nature, says Karolina Konsur
James Abbott mimics shooting, editing and even darkroom effects in Photoshop to give his shots a creative finish
Dan Mold explains how to add this effect to your images using Photoshop or Elements
Still raining outside? Then it’s time to get creative with overlay shooting modes and Wendy Evans
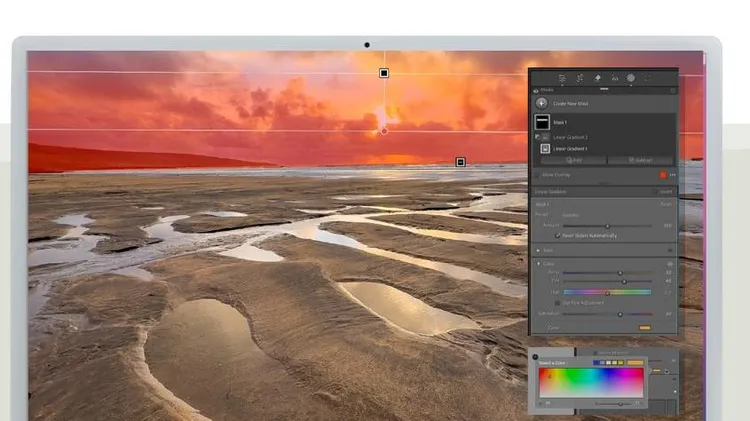
Using Lightroom, Sean McCormack shows how it’s done
As seen in this month’s tutorials, give your shots a new look with our collection of software extras