Europe
Asia
Oceania
Americas
Africa
There are more ways to manage the Mac
Your guide to making the most of Apple’s latest version of macOS...
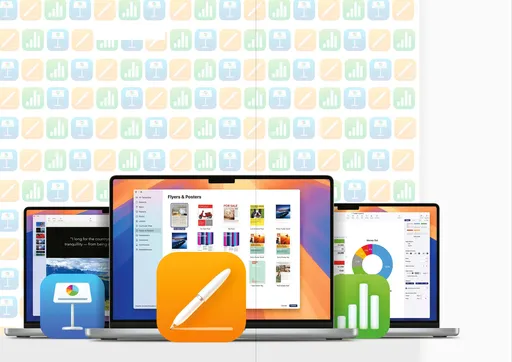
Make top–quality documents with Apple’s amazing iWork applications — Pages, Numbers, and Keynote