Europe
Asia
Oceania
Americas
Africa
Freeform is a great new addition to
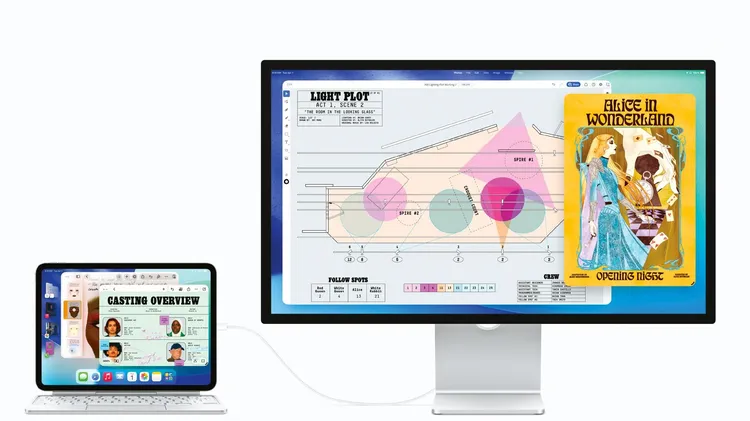
Could you really ditch your Mac in favor of Apple’s tablet?
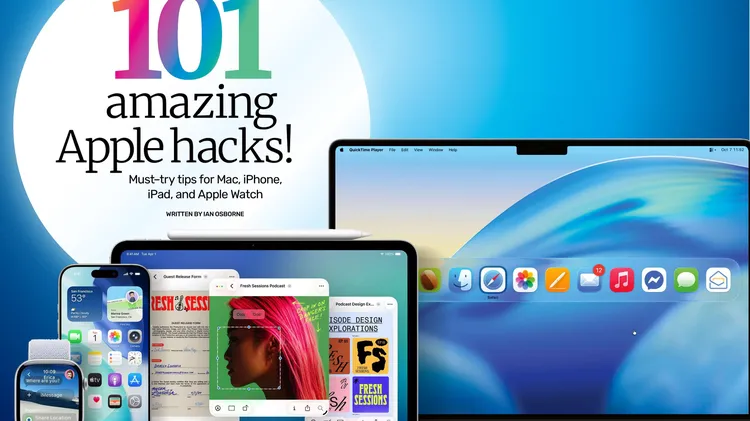
Must–try tips for Mac, iPhone, iPad, and Apple Watch
Inspirational ideas for Mac, iPhone and iPad
From a jack of all trades to a master of one
HOW TO DO ANYTHING ON YOUR MAC, iPHONE, & iPAD
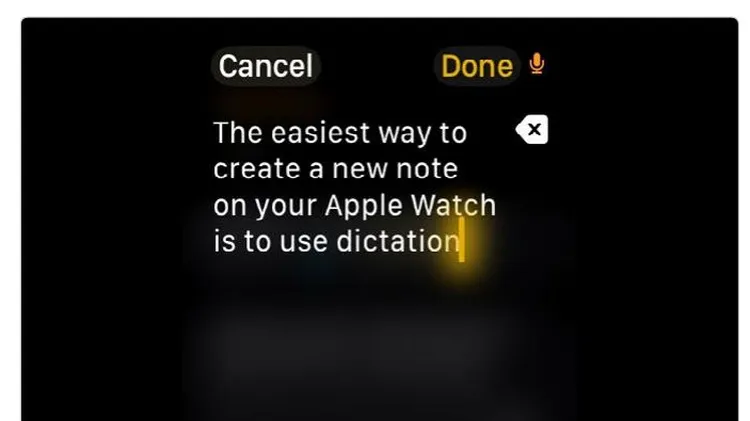
Notes is smarter and easier than ever in iOS