Europe
Asia
Oceania
Americas
Africa
Use iCloud Mail to set up automated responses when
When people think of AI they largely think of text-based chatbots such as ChatGPT. But chatbots are only scratching the surface of what’s possible with the tsunami of AI tools that are flooding onto t
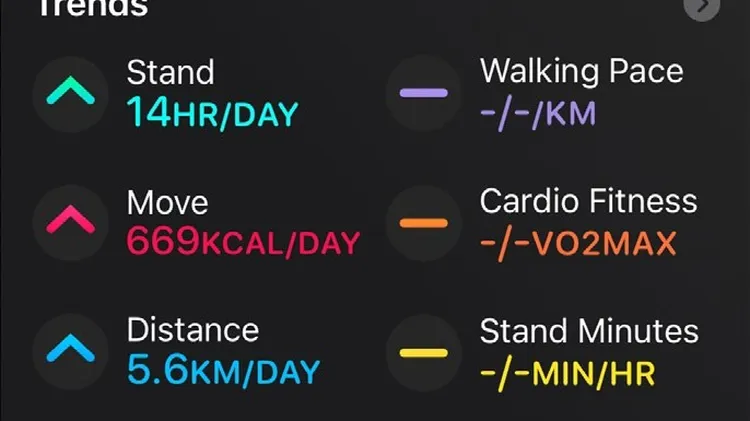
Apple’s devices are not just getting faster; in combination with a range of apps, they are also helping you to get fitter
Justifying your text makes multi-column or print-style layouts look neater. Version 25.8 of LibreOffice Writer, released in August, lets you set how loose or tight your justified text appears, improvi
Do you have a hybrid workforce? These days almost every business can answer in the affirmative. Unfortunately, the same goes for the follow-up question: do remote workers pose a risk to the security o
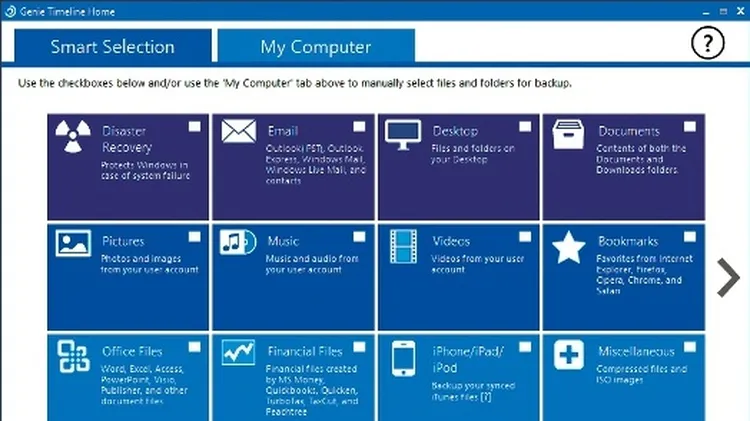
Technology keeps getting smarter, more reliable and more cloud-based, and old-school backup regimes have fallen by the wayside. Many of us remember the days of copying key files onto floppy disks at t
“ Arriving for a few nights’ break at a large holiday park, we pulled up in the car park and I headed to reception to check in. We’d booked online and had the pitch number allocated in the booking con