Europe
Asia
Oceania
Americas
Africa
Clip Studio Paint
In depth Magical character art
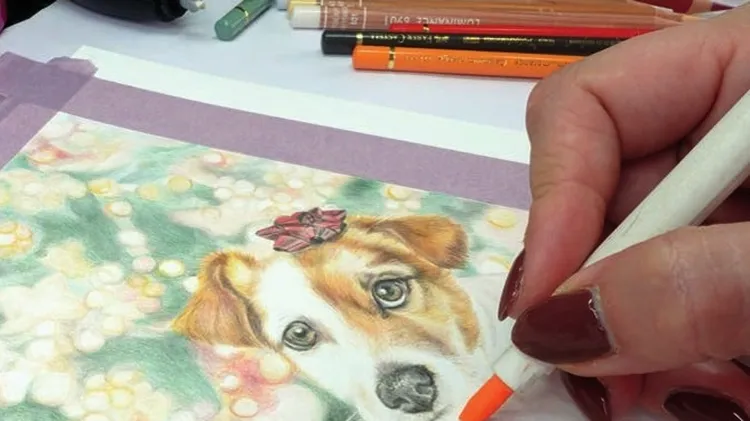
LITTLE CAPTURES THE SPIRIT OF CHRISTMAS more perfectly than a puppy nestled beneath the tree, bringing to mind the twinkle of festive lights, the glow of December evenings and that unmistakable mix of
When most of us think of painting, we picture a brush sweeping across canvas or paper. Brushes are indispensable, but they are just the beginning. A whole world of alternative tools can expand your cr
Some of my earliest and fondest memories are of drawing. I constantly drew monsters, video game characters and comic book heroes. I kept this up through my late teens until it dawned on me that art wa
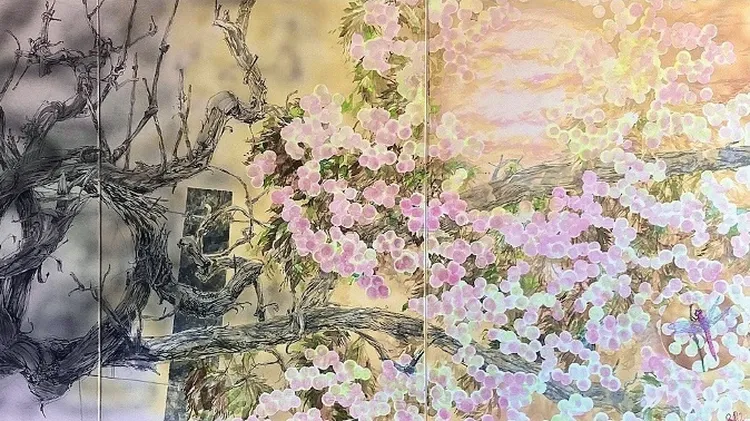
This image is an altogether different kettle of erm... grapes. It’s large - a three-canvas triptych painted in acrylics and including silver leaf. I’m showing one stage in detail form to make the expl
WHEN TRAVELLING IN SICILY, it is impossible not to be captivated by the strong identity of light. It’s almost as if it were a living creature: restless, always in motion, forever changing. The way it
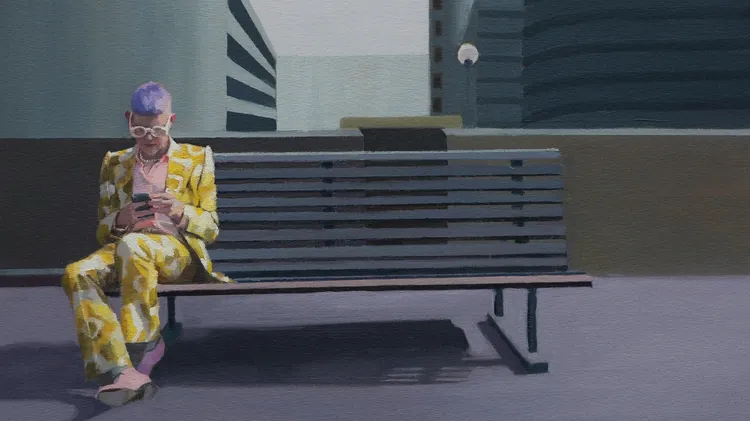
Encouraging the viewer to engage, Rebecca Holton prompts reflection on the way we live today and our rituals and routines. Frequently compared to Edward Hopper, her interpretation of light-dominated,