Europe
Asia
Oceania
Americas
Africa
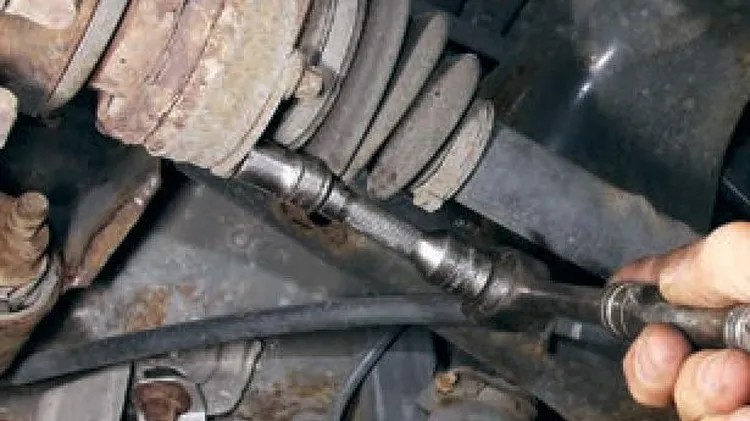
We follow North Wales Jag Centre replacing the rear subframe on
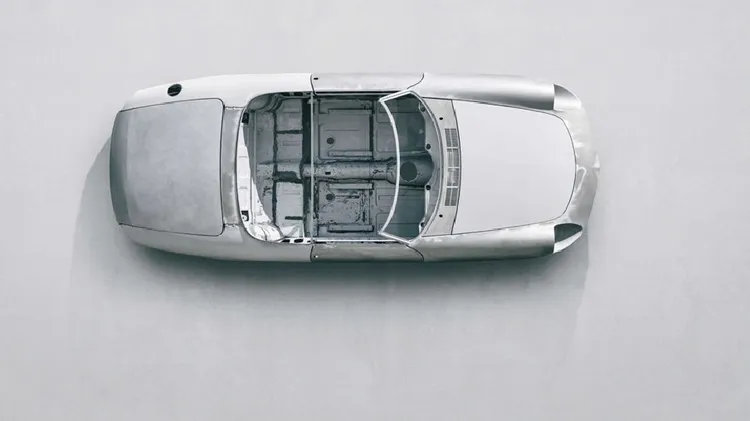
The XJs from the Nineties offer genuine value, while there’s also plenty of scope for some DIY tinkering. Here’s how to grab a great example
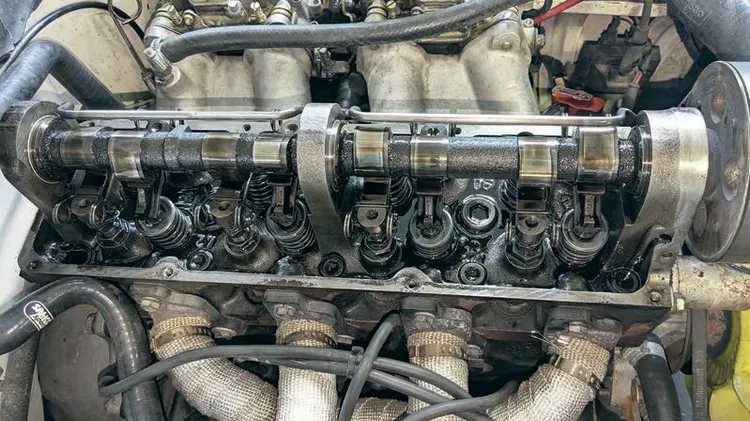
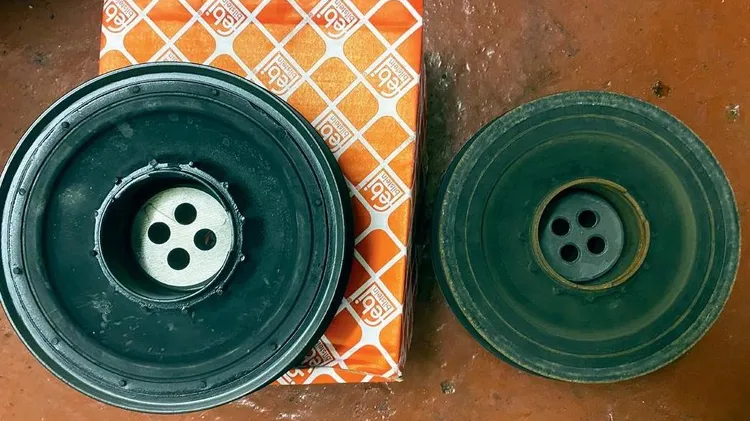
Fixing advice from our garage proprietor Steve Rothwell
Project Toyota Aygo
Fabia: bearing it again
BMW 3-SERIES 2.0 PETROL
WHAT YOU SHOULD be reading is how Mark Dixon enjoyed driving his recently purchased Rover in France after graciously accepting a press invitation to the Champagne region – which is full of culture, ar