Europe
Asia
Oceania
Americas
Africa
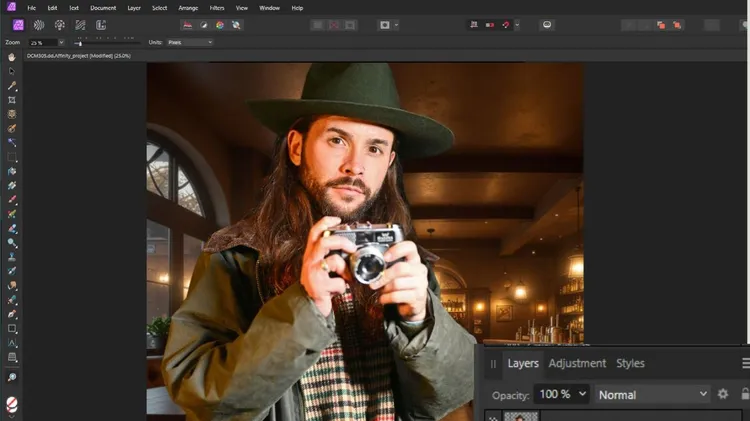
Project two: Retouching
Mike Harris shows you how to use frequency sepa
Wendy Evans reveals the world of brush selections and layer masking in Affinity Photo 2
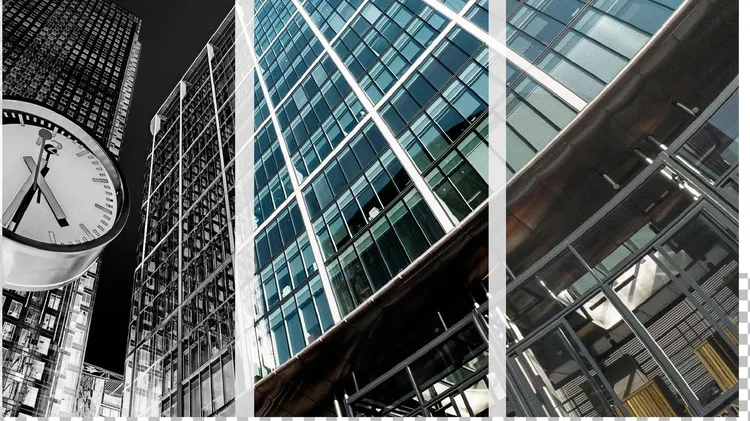
James Abbott mimics shooting, editing and even darkroom effects in Photoshop to give his shots a creative finish
Using Lightroom, Sean McCormack shows how it’s done
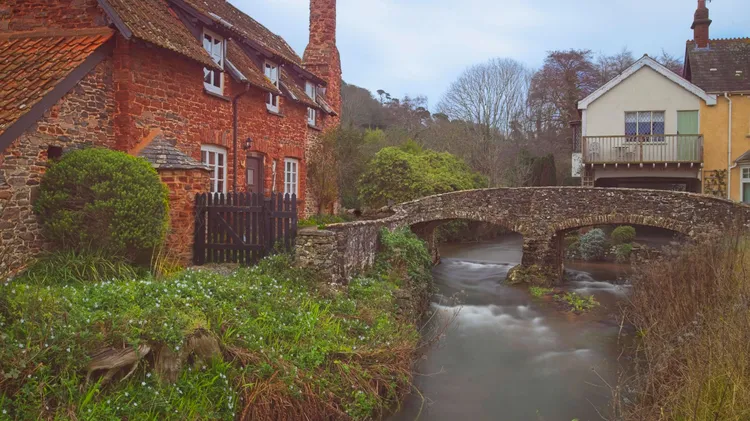
This month: Improve composition Compose yourself for photographs that are worth looking at more than once
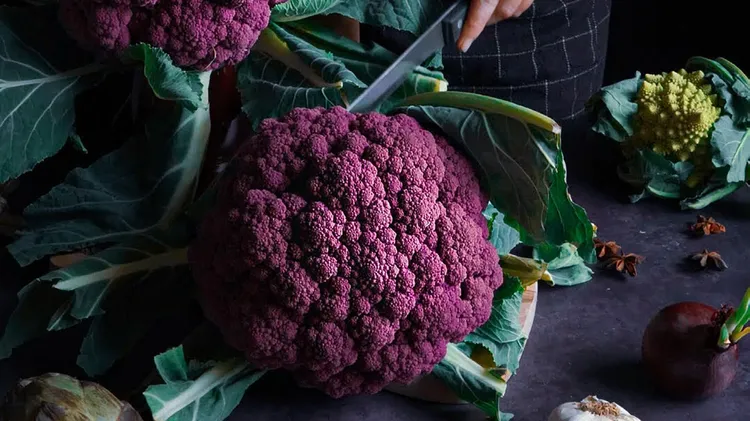
Charlotte Beutler’s still-life photo comes under our microscope
Wendy Evans explores the power of masked layer effects in our ON1 Photo RAW MAX guide