Europe
Asia
Oceania
Americas
Africa
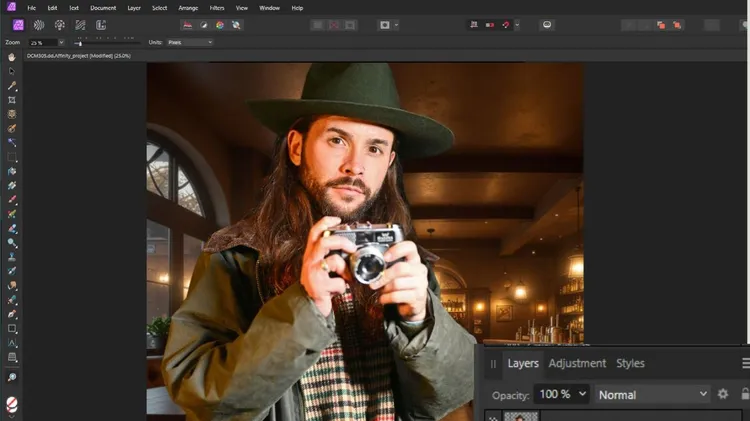
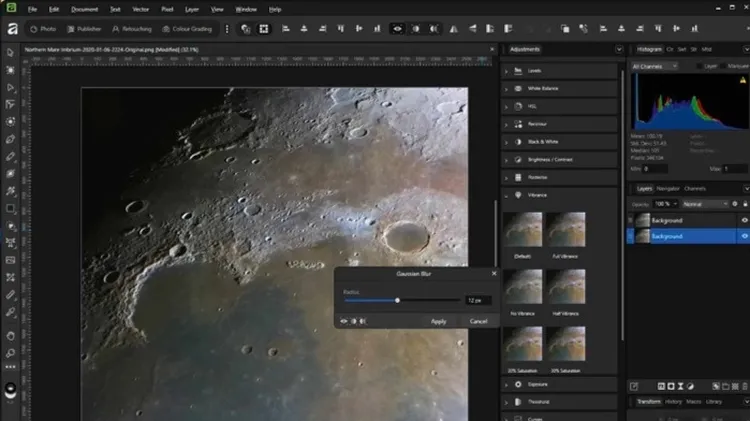
AFFINITY PHOTO
James Paterson shows you how to use the Develop Pe
Wendy Evans reveals the world of brush selections and layer masking in Affinity Photo 2
As seen in this month’s tutorials, give your shots a new look with our collection of software extras
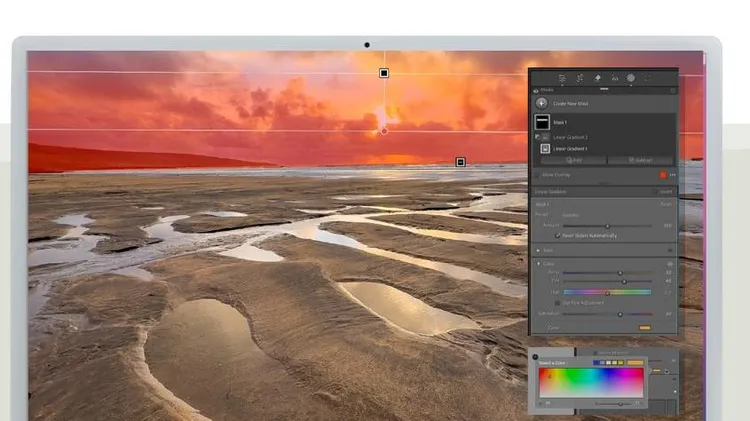
Using Lightroom, Sean McCormack shows how it’s done
Wendy Evans explores the power of masked layer effects in our ON1 Photo RAW MAX guide
James Abbott mimics shooting, editing and even darkroom effects in Photoshop to give his shots a creative finish
When you process your one-shot-colour (OSC) astro photos, do you fnd the colour often looks more muted than you want? Worry not. Whether your subject is the Moon, planets or deep-sky objects, there’s