Europe
Asia
Oceania
Americas
Africa
CHANGING CHANNELS
James Paterson show
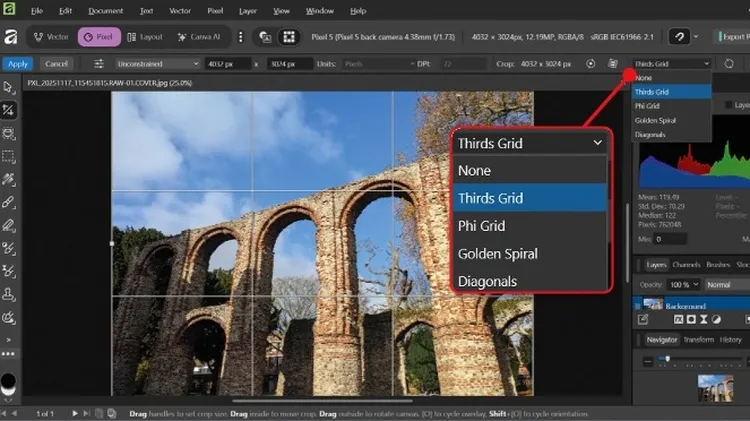
Lightroom has a range of tools for the task, says Sean McCormack
Photo Filters are used for colour correction, but combined with Blending modes, they are a versatile tool, says James Abbott
Dan Mold explains how to give your photos extra punch and grit, using layers in Photoshop
Learn the basics – and much more – in our photo skills crash course!
Something exciting happened at the end of October. Canva, best known for its online design and photo-editing tools, launched a single Affinity software suite, combining the image-editing, vector-graph
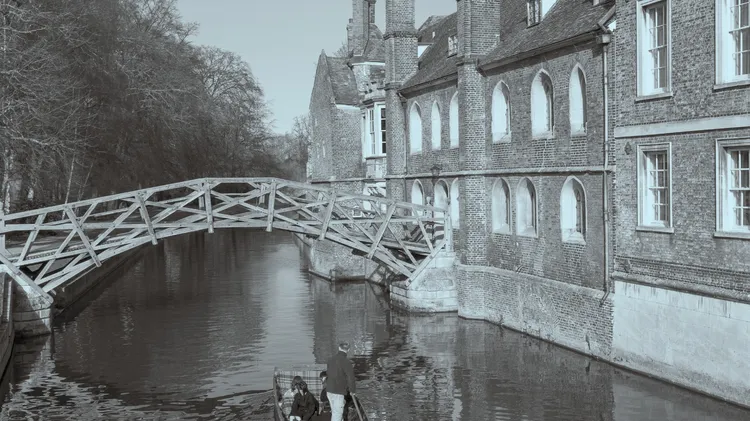
10 things you can shoot and create this month, from BMXs and badgers to train sets and lakes at dawn